Hey–come closer. A little closer. I have to tell you something. Ready? I teach 3rd graders and we have choice time in our class. Yep. Maybe every day. And they love it.
I know that to some (many?) people that is a controversial statement. To some (many?) 3rd grade marks a change in school. This is the year when kids are supposed to get serious. They’re supposed to have moved on past the play time and ease of primary grades and be ready now for real school, where they should be expected to sit still and work silently (often in a desk), have lots of homework and get ready for middle school (oh man, don’t even get me started about that statement….maybe more on that later…). Gone are the days of games and free time and arts and crafts. Now is the time for work.
While I am by no means an expert on third grade or third graders, I have spent a lot of time in a classroom and have taught grades on both sides of it, so I know some of how parents and teachers alike expect third grade to go. I’m going to suggest there’s another way to do it. A way that values both play and learning, as play IS a way children learn.
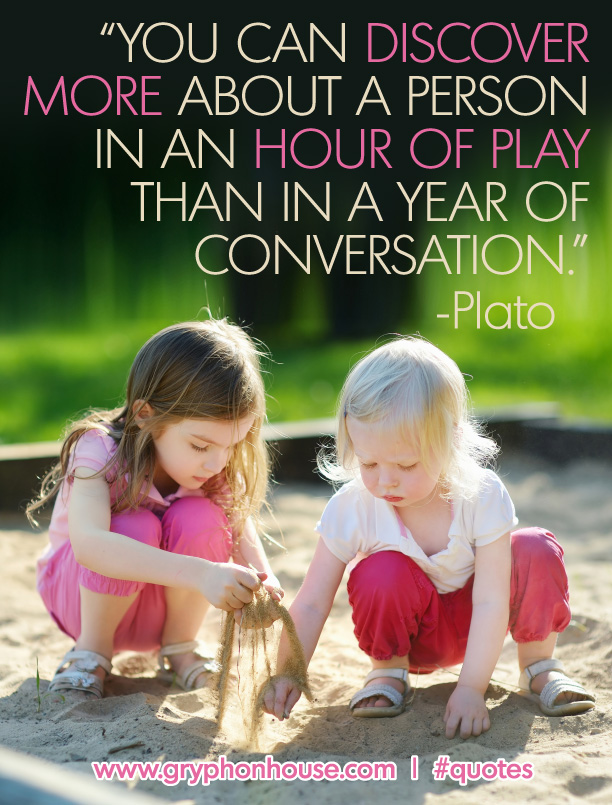
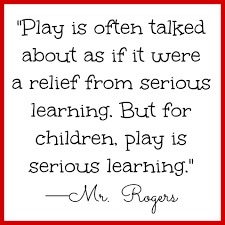
If you Google “quotes on play” you can sit for hours and go through all sorts of things that people say about play. Here are just a few:
As an early childhood educator, I was taught–and firmly believe–that children are the crafters of their learning and my job is one of a facilitator. I provide the opportunities and invitations, and kiddos do the thinking and discovering as they figure things out and own their knowledge. Yes, there are times when you have to give them information, but more often than not, leading them there and having them find out things for themselves is the best way. The more they do for themselves, the more they remember and the more ownership they take. Also, it’s way more fun to figure things out than to always have the adults around you be the experts telling you all the things.
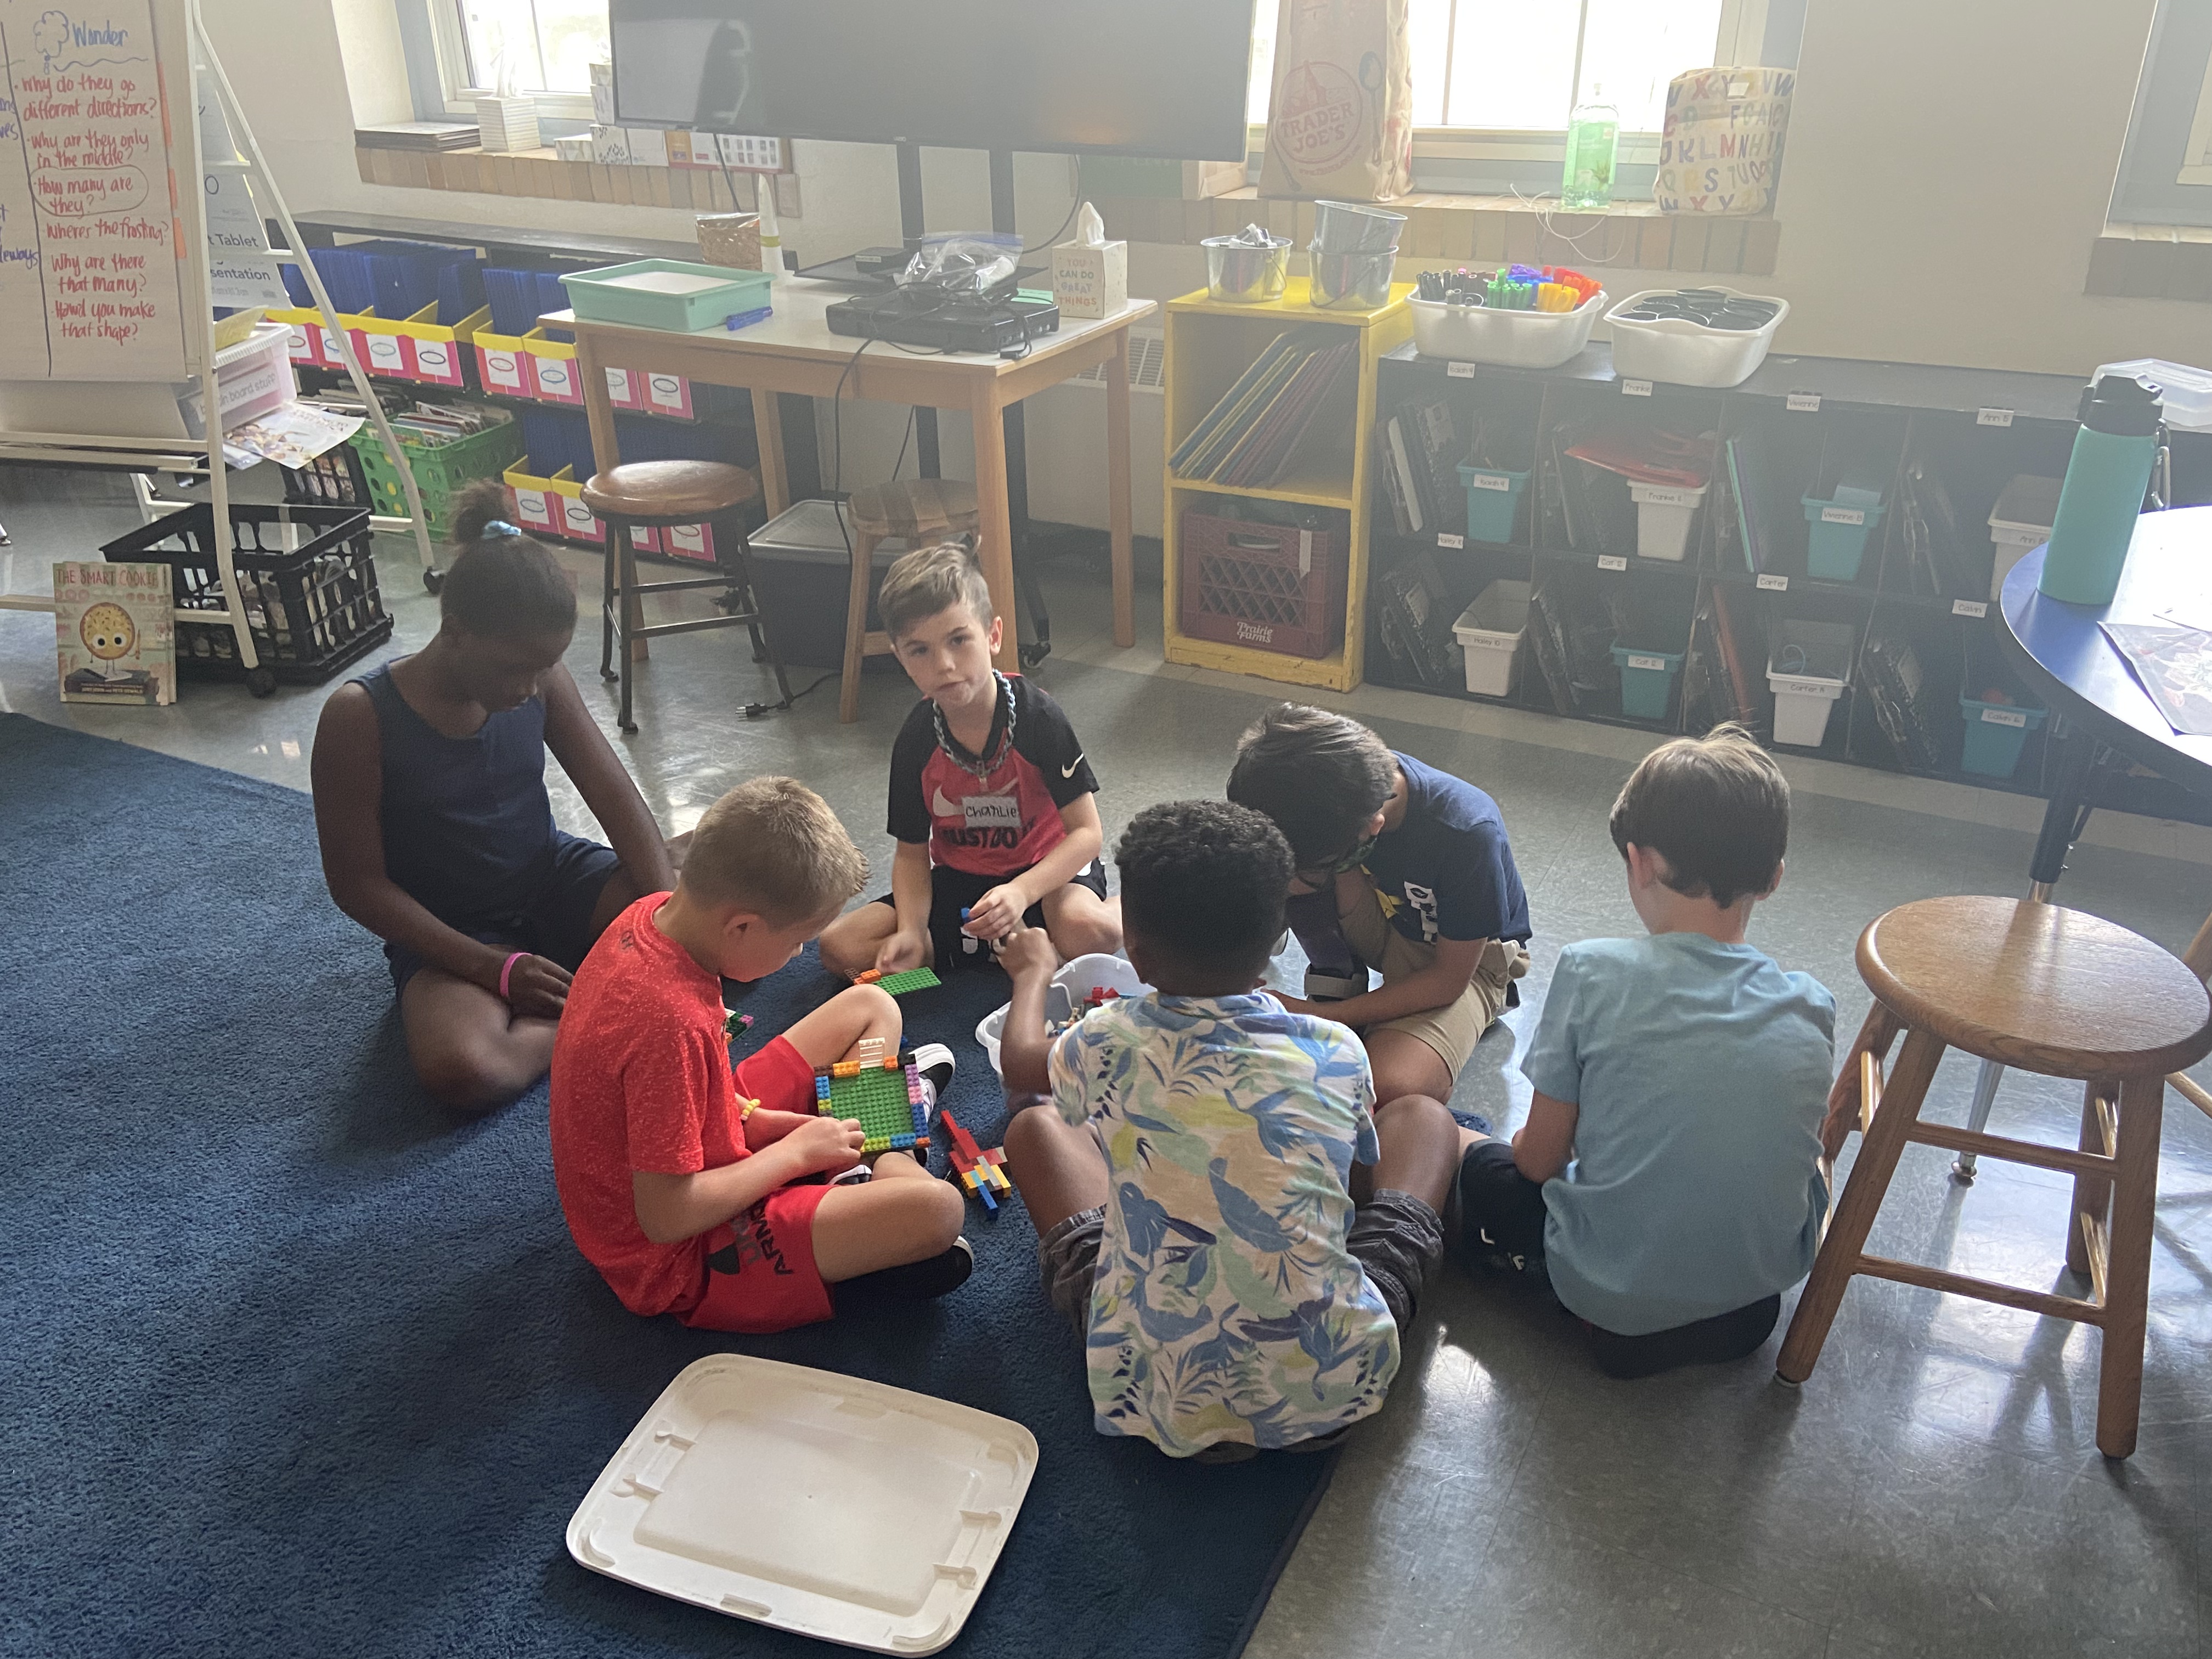
Why do I even mention this? Because like I mentioned before, people find choice time–or art, LEGOs, games, building, recess–to be a no-no for older kiddos. I need you to know that this is an expectation in my classroom, and we will work hard through play, choice and fun.
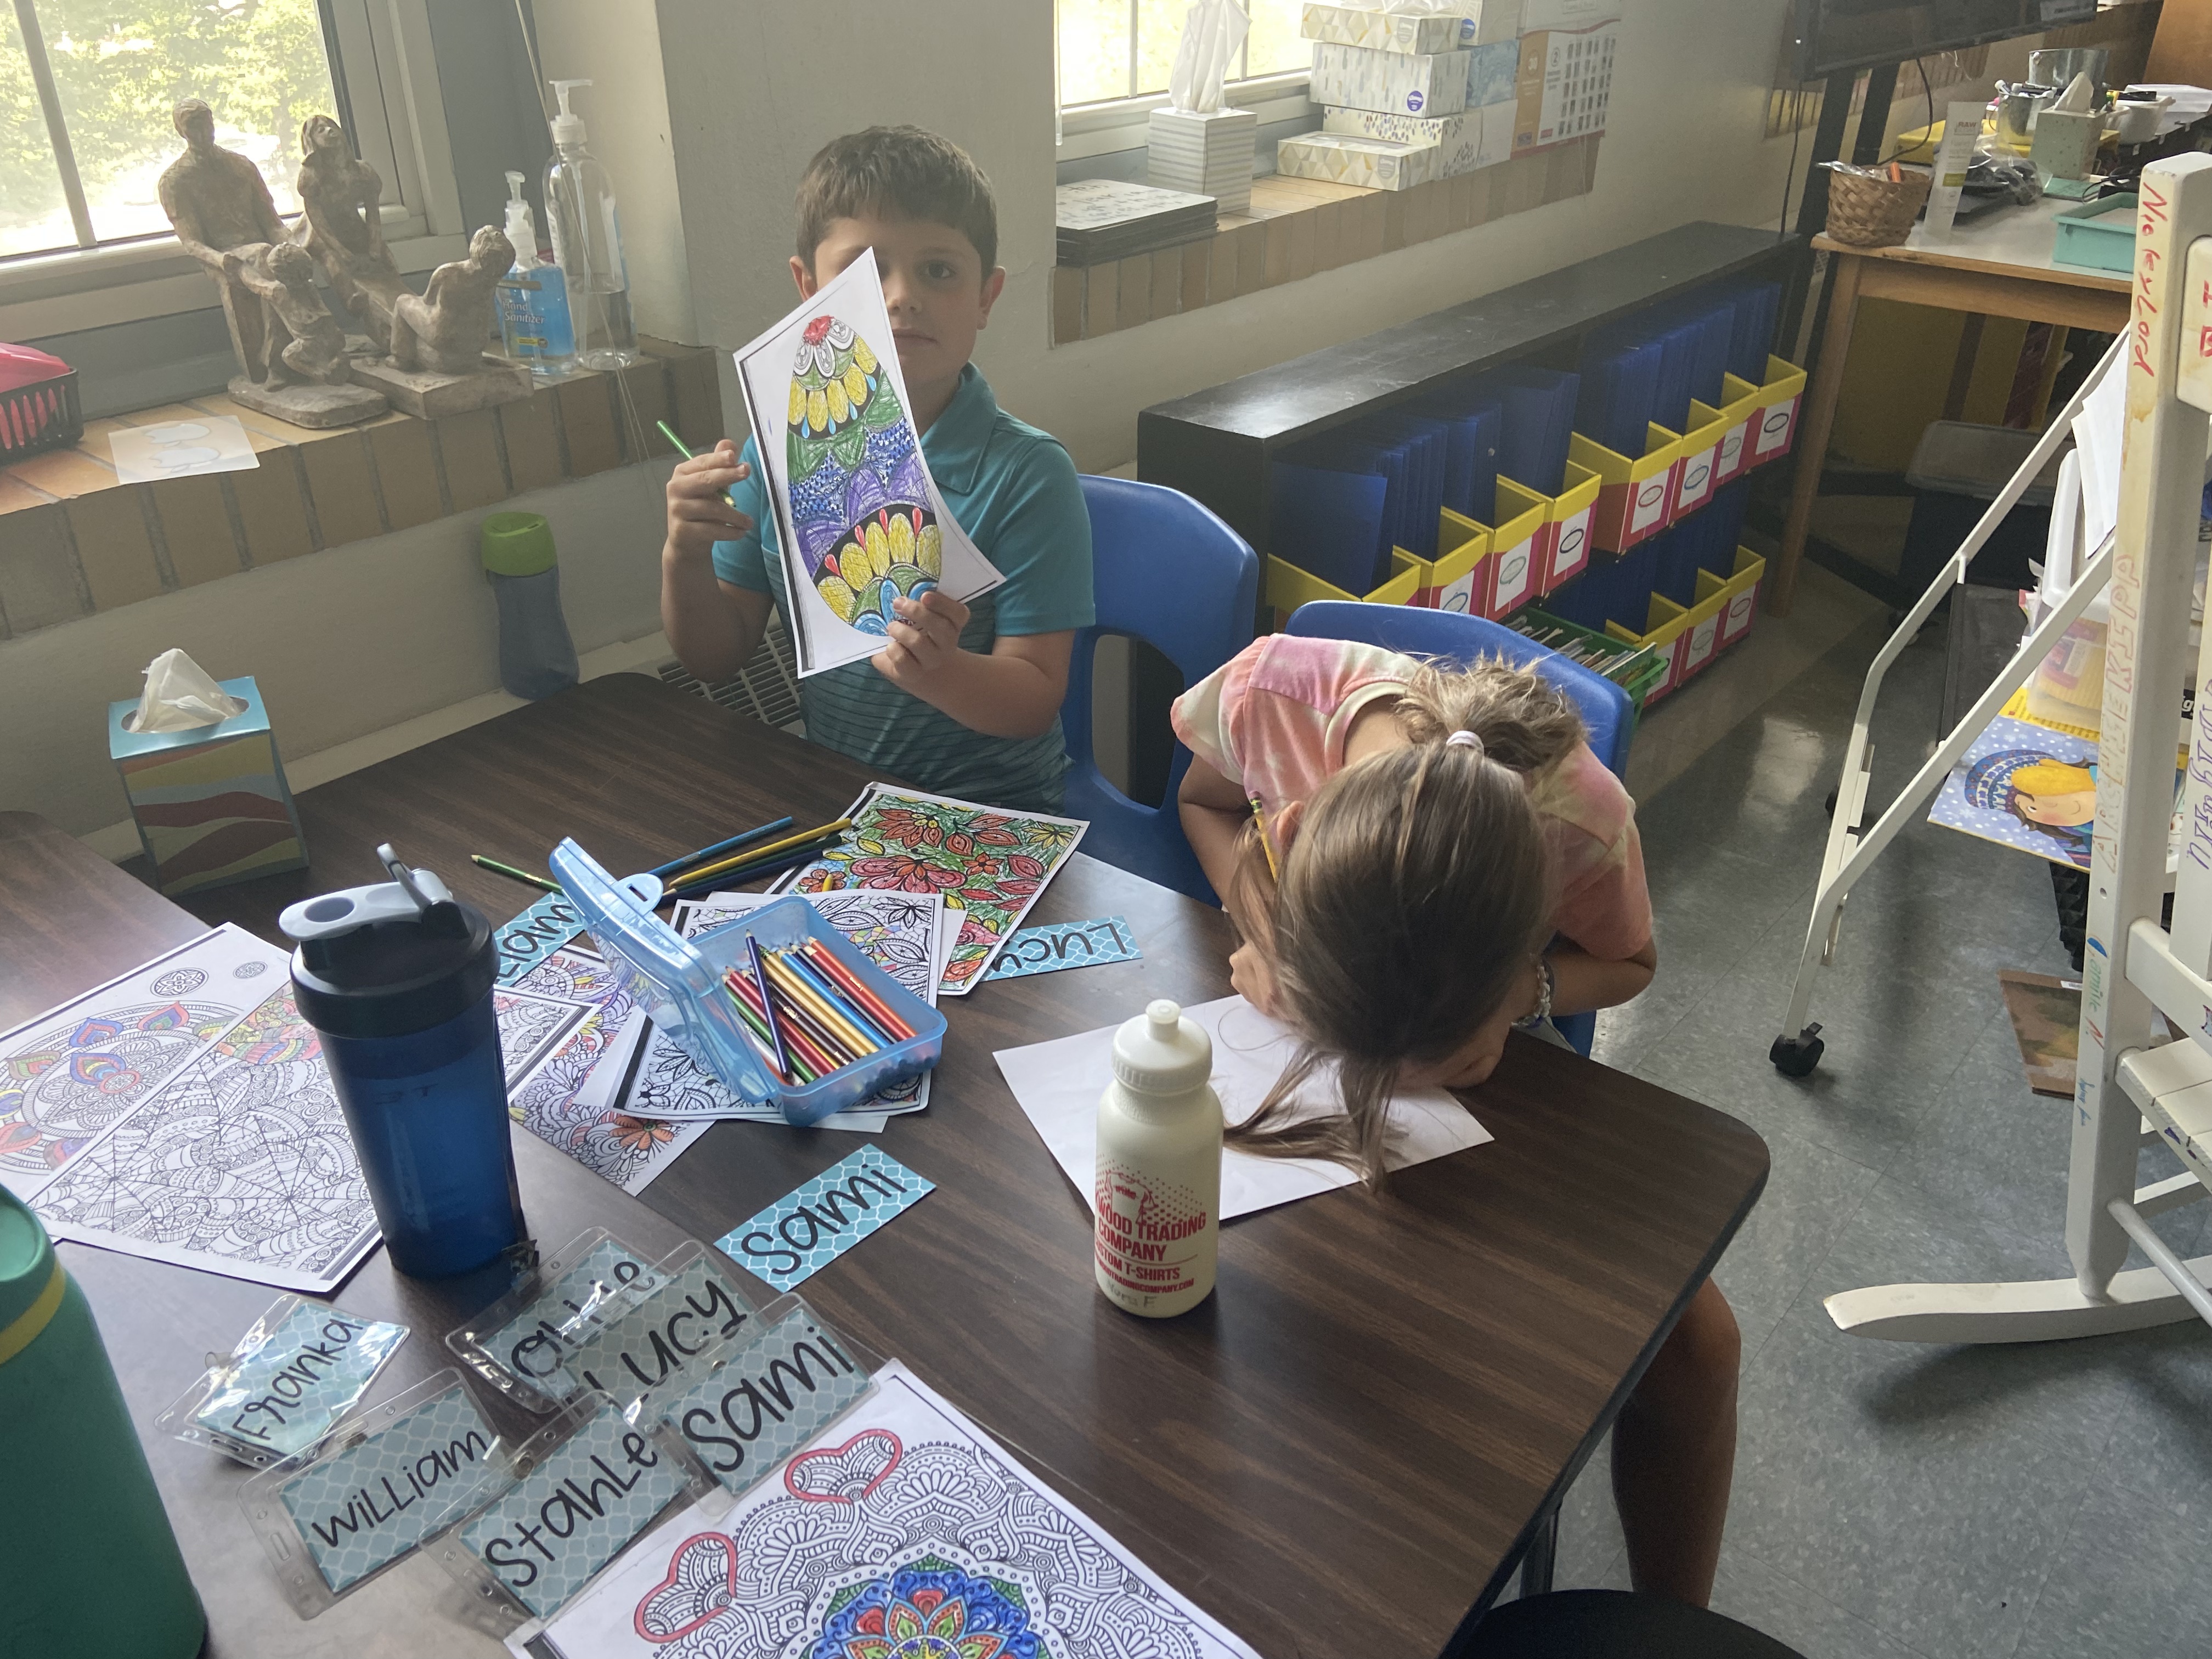
Especially at the beginning of the year, unstructured time with new people in a new classroom is crucial–both for students and for me. As I give them time to make choices of what to do and who to work (play) with, I am learning as much as them. I can get info on who they work well with (and who they don’t!); what they do when they are frustrated; what makes them happy; what they enjoy doing; how long they can stay engaged with an activity; what they know about problem-solving, creativity and figuring out what to do on their own; how well they clean up after themselves (or don’t LOL); more about their language skills; and countless other things. They can learn about their friends, meet new ones, relieve stress, create things, learn a new game or skill, become comfortable in our classroom and of course, it’s FUN! I honestly do not know what I would do in my classroom if there was not time or room for kids to play. It’s good for all parts of them, and it’s good for me, too. Some of the best conversations I have had with kids have come during unstructured time in our room when they don’t feel pressure to be “on” or like I’m expecting something from them. They are at ease and are often more likely to share things that then help me in future interactions with them as learners.
I look forward to the ways we will play and learn together, and how I can encourage kiddos to do new and hard things by presenting the challenges to them in a fun, welcoming way. Sharing my own stories of play are important, too. I’m sure we will make mistakes, get messy and learn a TON together. Hope you are along for the ride!
Tell us, what is your favorite way to play? Leave a comment and we’ll be sure to respond soon! 🙂
If you read my last post, then you know we were just on a family trip to San Francisco. Yesterday was a really long day of flying home (from San Fran to Burbank, then Burbank to Phoenix, and then Phoenix to St. Louis, because I know you were wondering 😉).
As I began each leg of the flight, I listened as the flight attendants (who are amazing group of people, I should add!) explained all of the safety protocols and what to do when and how and all of those essential things. It made me chuckle each time as they said the word “mask,” as I thought of how our understanding and use of that word has changed soooo much over the course of this last year and a half.
Yes, originally when that safety spiel was written, it referred to the yellow plastic cup with the rubber strap that I’m supposed to put on myself first and then on my child in case of a sudden drop in cabin pressure (which, thankfully I’ve never had to do!). I was further reminded during one presentation of the possible confusion when the attendant closest to me actually pulled down his fabric mask to demonstrate how you’d have an extra step now of removing one mask for the other mask to work appropriately.
Also there in my memory is how the word mask used to be relegated only to Halloween, something that I hated to wear a child because they were so hot (and you don’t really need one when you dress up as Laura Ingalls Wilder or Jem—shout out or anyone old enough to appreciate that reference 🤣), and that now I also know you’re not supposed to bring to school for the classroom parade but instead save for “real” trick-or-treating at home later that night.
Enter 2020 and COVID-19 and of course that word has a completely different definition and as well a different connotation depending on the wearer. (And no, dear reader, I am not going to spending time here on any political statements or judgments of right or wrong. I am simply going to tell stories about masks. Stories that I am sure will be highly entertaining, so I hope you stick around. 😉)
I remember the beginning of the pandemic when the whole idea of masks came up and my friend shared with me a tutorial on how to make one out of a dish towel or a t-shirt and how silly I thought that was. She was of course over-reacting, we were never going to need to know how to do that. Right?
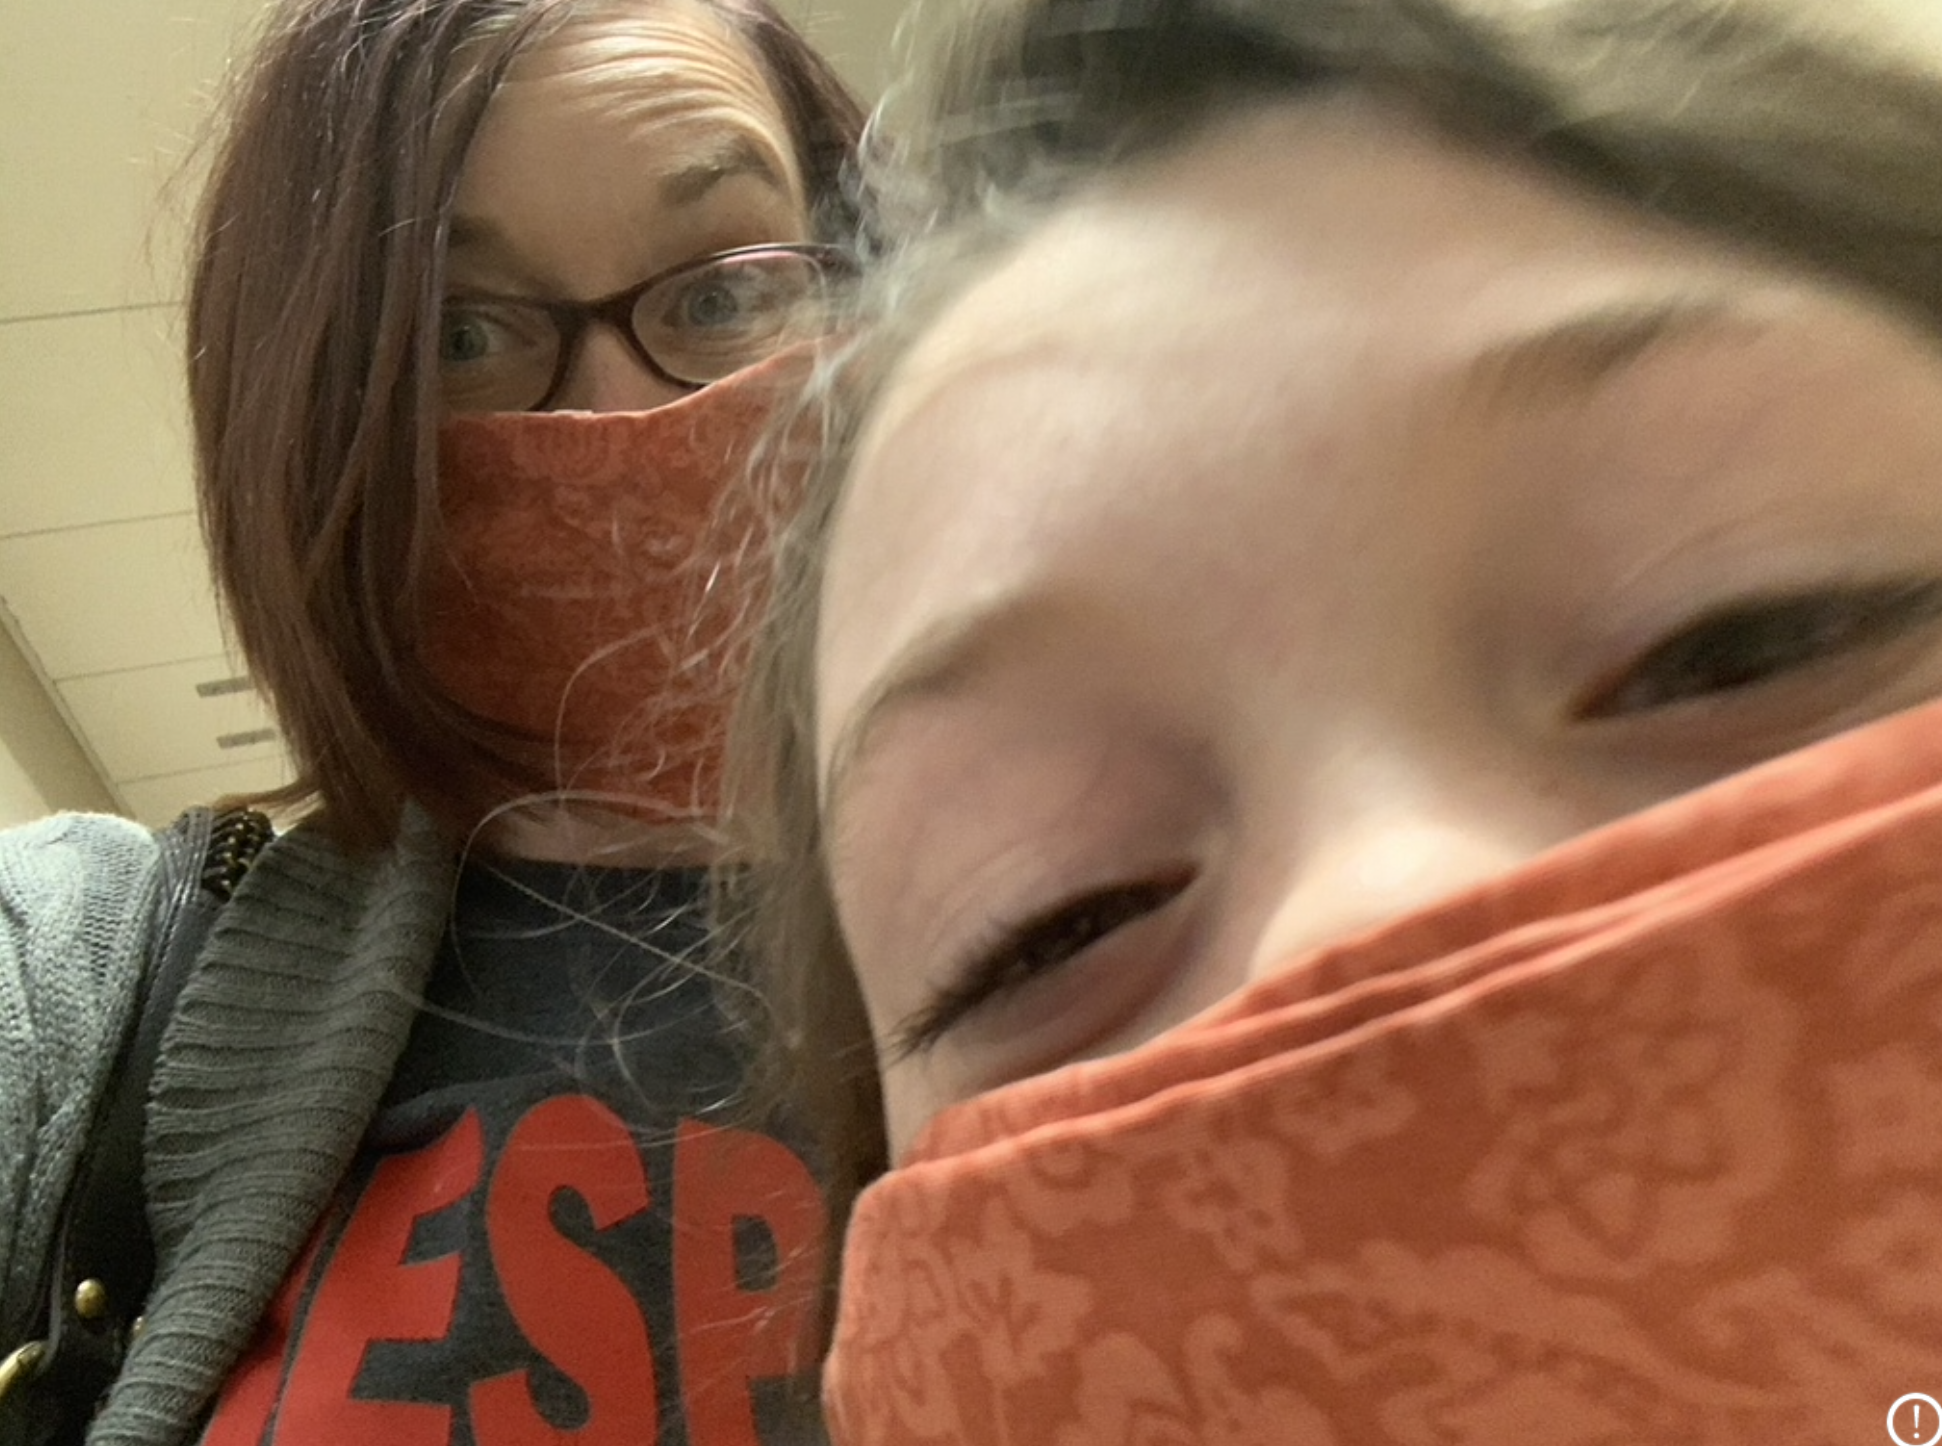
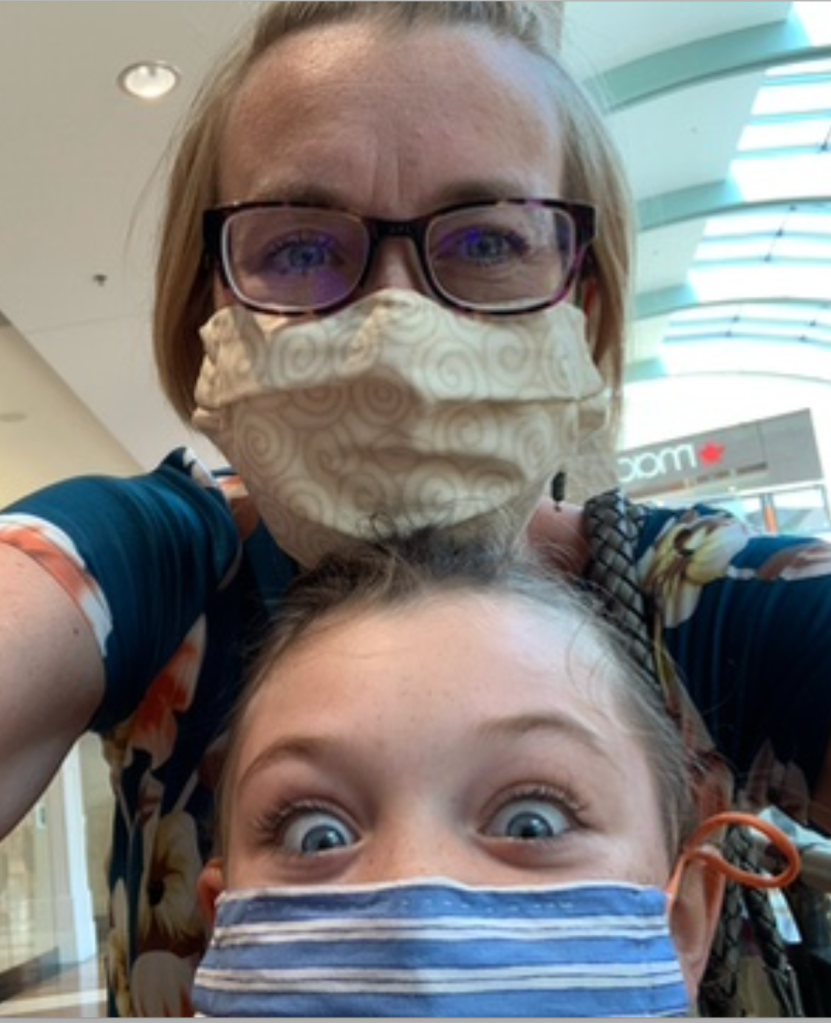
Ha! Of course I was so very wrong. Let me stop a second here to show you how wrong I was. And when I say “wrong” I mean let me show you the first versions of masks we wore around my house, which were made of strips of fabric and ponytail holders. Please be kind as you enjoy this picture:
This photo was taken in April 2020. It was my daughter’s first outing, and our first need for masks in public. Those are terrible, right? At least they did the job. And since you’re wondering here, too–she had to go to the dentist to get a tooth pulled. Ugh, right?? We know how to have fun around here! 🙂
Instead of Halloween- or airplane-related, scarcely worn and foreign, mask is now a term that has become common place to all of us. But to me it’s also become an opportunity to express my creativity and also a bit of a fashion statement. Or at least an opportunity to match a new accessory to my clothes!
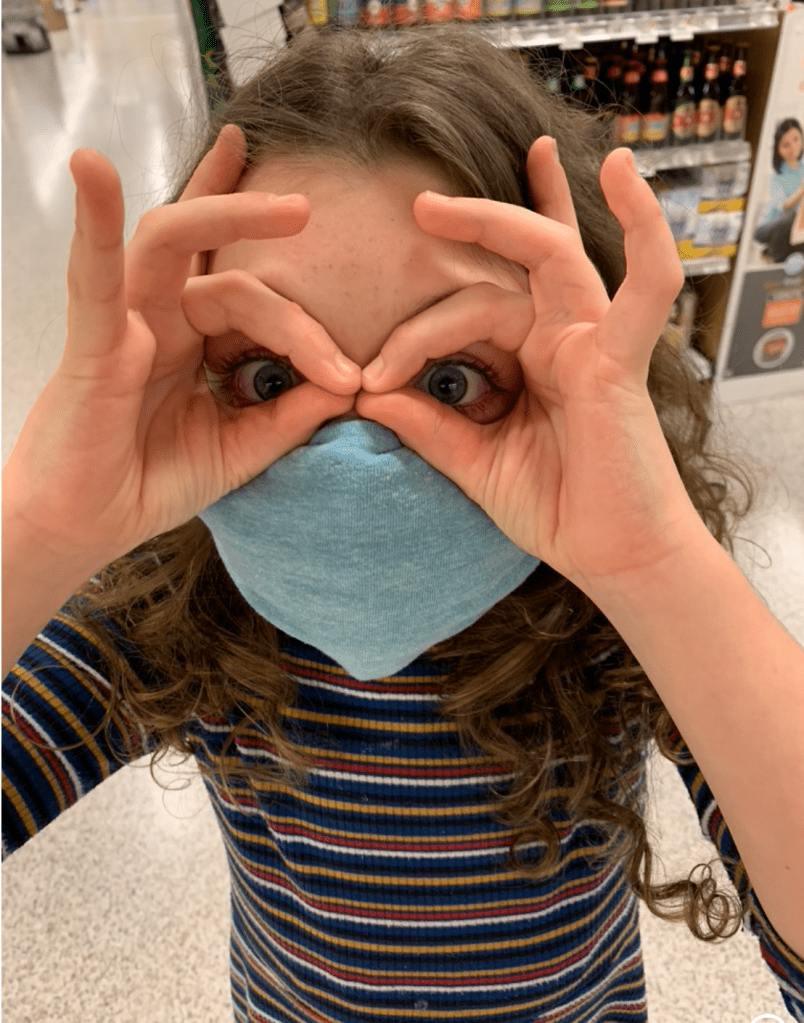
We went on like that with those strip-and-rubber-band masks for a bit.
Poor baby–guess A was the only one brave enough to let me take their picture back then. Such a trooper, that one. 🙂
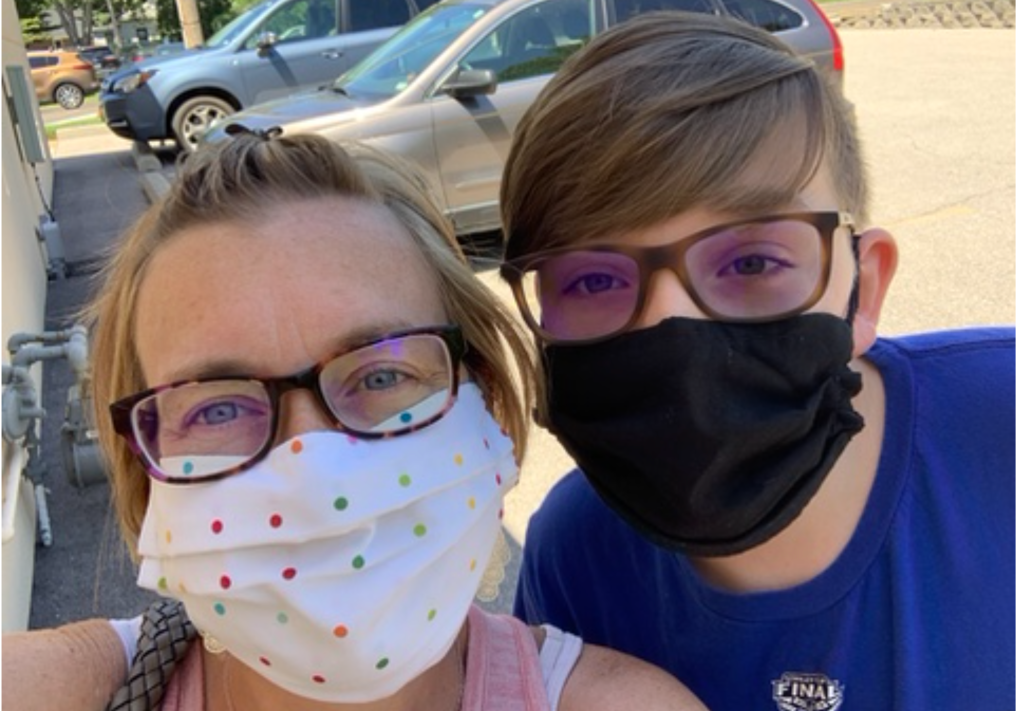
Once we knew we were going to need more “official” masks, I had a choice to make. And since I’m definitely an “I’d-rather-make-it-than-buy-it” kind of person, I knew that meant I needed to figure out how to make some better fabric face coverings. Then I remembered the scrap fabric pile in the basement and decided we needed a little bit of an upgrade. The second iteration of the Bearden family mask stash was a little better than these, and at least has some sewn elements, thanks for a PLETHORA of YouTube videos on the subject. (I’m not kidding, check it out, I am pretty sure EVERYONE has posted a video on how to make a mask as home! When you find out how many there actually are, leave me a comment and tell me the number, will ya? 🙂 ). Eventually we had a small stash of masks that were at least presentable in public, but that were mostly adult sized. My husband was the only one leaving at this time, since we were all doing school at home and we decided it was best for the rest of use to stay in as much as we could. He and I shared these first masks, and of course washed them after each wearing. At that point no one besides him was even really needing them, so we had only a few through which we rotated.
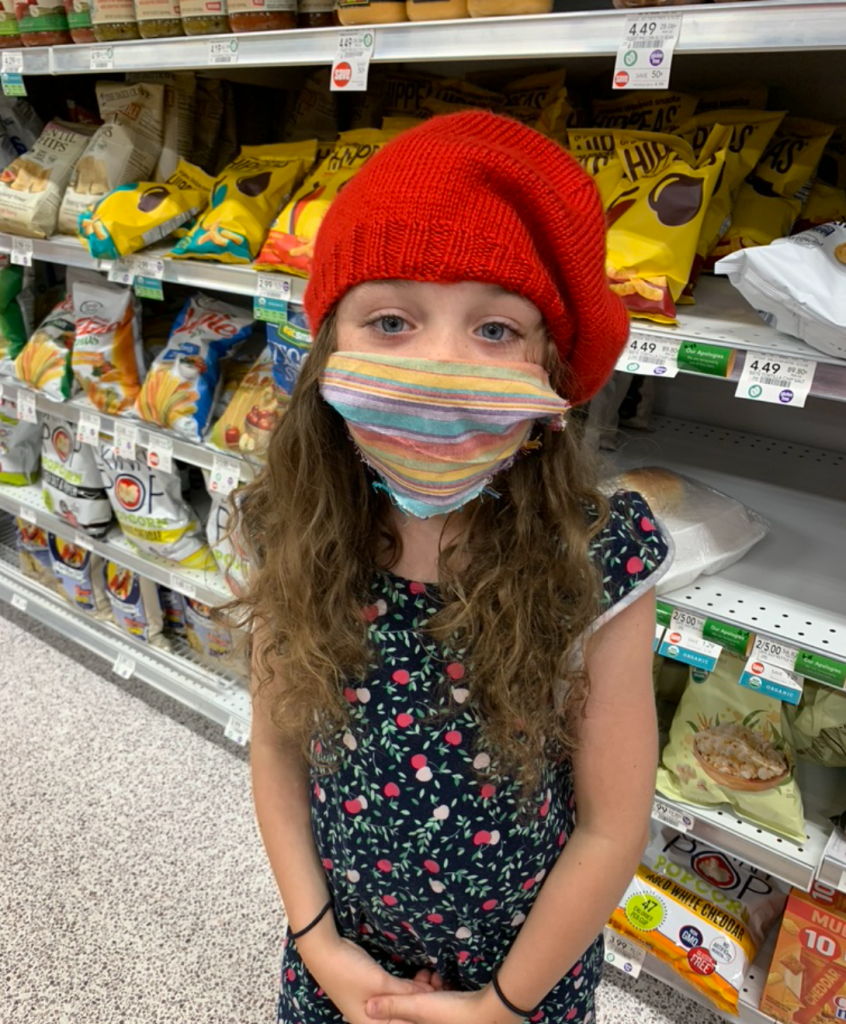
This basically got us all the way through the summer, as we tried to steer clear of places where we’d even come in contact with people. Our kids stayed at home, and we really only went on short trips to the grocery store–as were most others, too. We even managed a beach vacation, where we stayed in our condo and played on the beach by ourselves and again only ventured out a couple of times to pack our fridge or sneak a quick ice cream treat from a stand nearby. It took me all the way to June to even find a picture in my albums of someone wearing one of those masks I sewed. Seems like by that time we at least were willing to venture out a bit, I think mostly because it was summer and we could be outside.
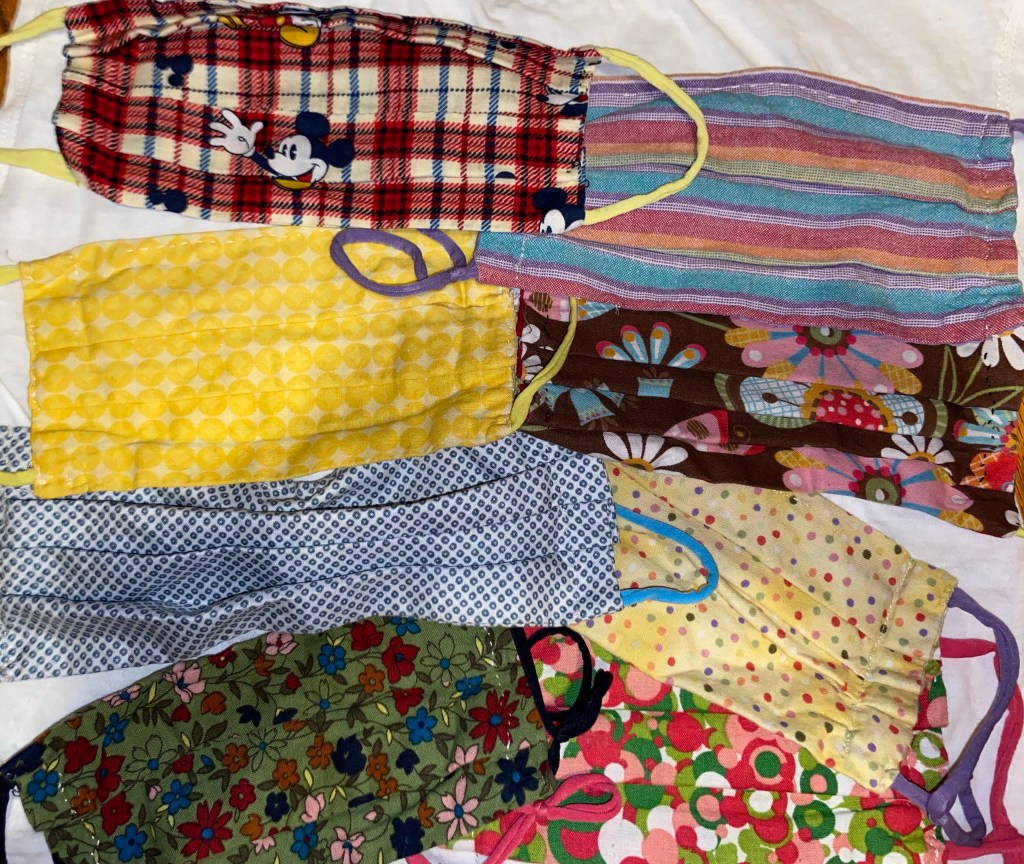
These count in the first round of masks, which had whatever I could find around the house, which mostly comprised of old fabric scraps, pillowcases and t-shirts (which I used as ear straps after we decided the elastic was too stiff).
The big turn came when–gasp!–the decision was made to return to school in October. Now, not only did A and I need a mask for every day, we also needed ones that we were willing to be seen in. LOL.
That began my search for a better design as well as prints and fabrics that were more fun. I mean, hey, if you have to wear something you may as well enjoy it right? I think by now I’ve gotten this whole mask-making thing down to a science, and can hand-sew a mask in 25 minutes from 8″ X 8″ square to complete mask with straps and pleats–like these that I just added to the stash tonight:
25 minutes from start to finish. Great while-you’re-watching TV work! 😊 If I use my Serger, the time is only like 10! But then I have to move off the couch, so sometimes hand-sewing wins. LOL
As I’ve been working on this post, going back to find pictures to use, I’ve realized how FEW I actually have! Some of that, I think, is because of how little we actually left our house over the last year, hence we weren’t places where we’d both be wearing masks and taking pictures. The other thing is that when we were outside, we tried to stay away from others, therefore not wearing masks. But that makes our picture documentation of the pandemic and quarantine look a lot like others years–I wonder if that will be something I will miss in the future when I look back on 2020. Guess we’ll have to wait and see. 🙂
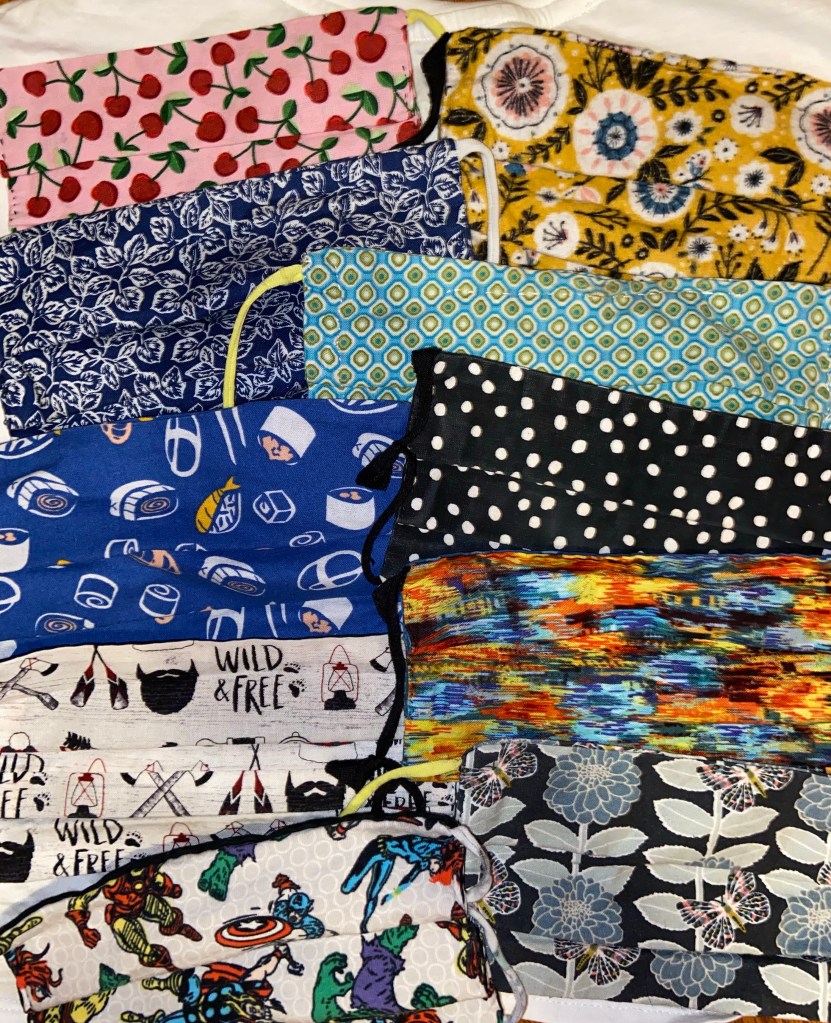
I mentioned earlier that the return to school meant that we all needed more masks, and so I needed to get busy. My first pile of additions were made with scrap fabric, but were inspired by some of our favorite colors, characters and prints.
Once my hubby finally went back to in-person school in January, he needed another set of new masks since he’d now need them every day of the week.
Eventually, we just started finding cute fabric and making more masks not because we needed them, but because they went with clothes we have, or just because they were cute.
Like I said, I’ve learned somethings that might be helpful if you’re making your own masks. There are many, many tutorials online–and heck, you could probably figure out how to do it on your own if you already know how to sew. I used several different versions. The first looked like this, with a filter pocket and long straps so that they could fit both me and my husband. We just tied slip knots in the ties if they needed to be a littler smaller.
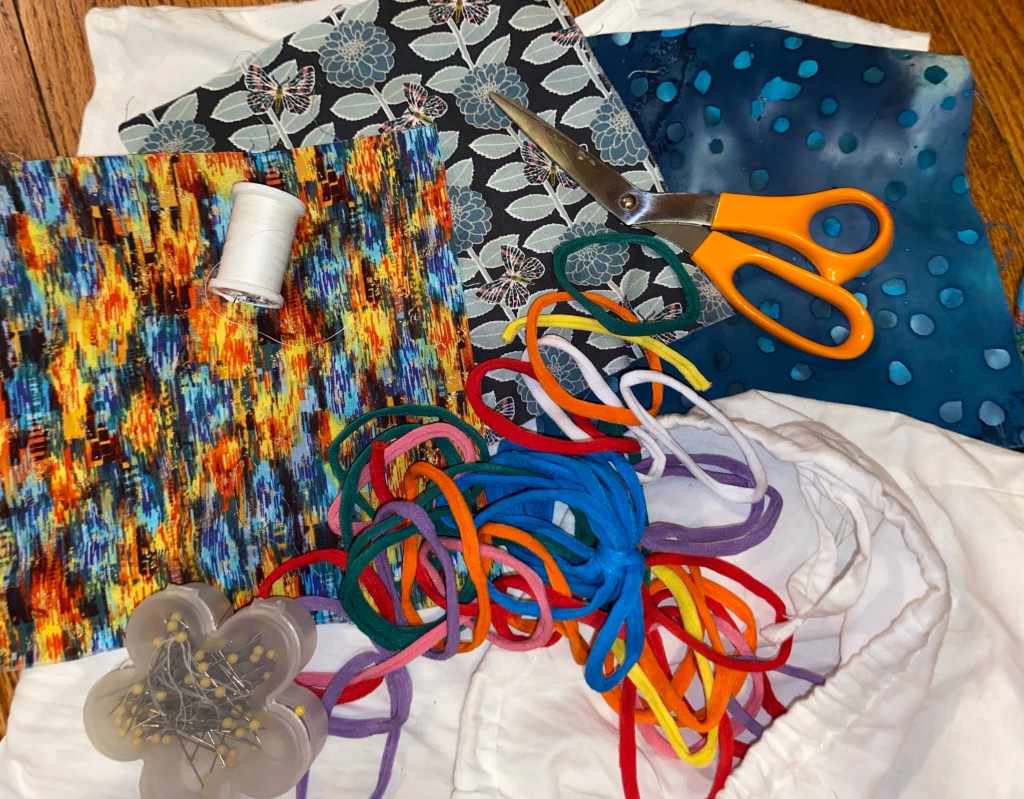
The style I’ve landed on–both because they are easiest to make and also because they fit the best are basically like what you can find on this post by Diary of a Quilter. We use 8″ X 8″ squares a little bigger if they’re for my husband’s face or a little smaller if they’re for my daughter), scissors, needle and thread (for hand-sewing), and nylon stretchy loops like you made potholders with when you were a kid. I found this pack of 288 of them on Amazon and will have plenty for a long time to come. You cut them in half and use one for each mask. These have been our favorite straps by far because they are soooo comfy and soft on your ears. 🙂
Whew. Wow–who knew there were so many words to write about masks? I certainly didn’t. Especially last year when masks weren’t even things I even really ever wore. Now they are everywhere, and despite what you think about their health benefit, they definitely keep people from knowing if I have coffee breath in the morning or if I had onions on my salad at lunch. LOL And that, friends, is definitely a win-win in my book.
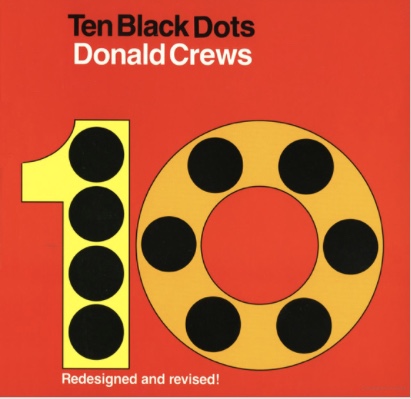
On August 28, we celebrated a very important day at school–our 10th day of first grade together! It was a very special day because 10 is SUCH AN IMPORTANT number to first graders (and in general!). We learned a new math game that day called Tenzi, which we loved, and we also read a really great book–Ten Black Dots.
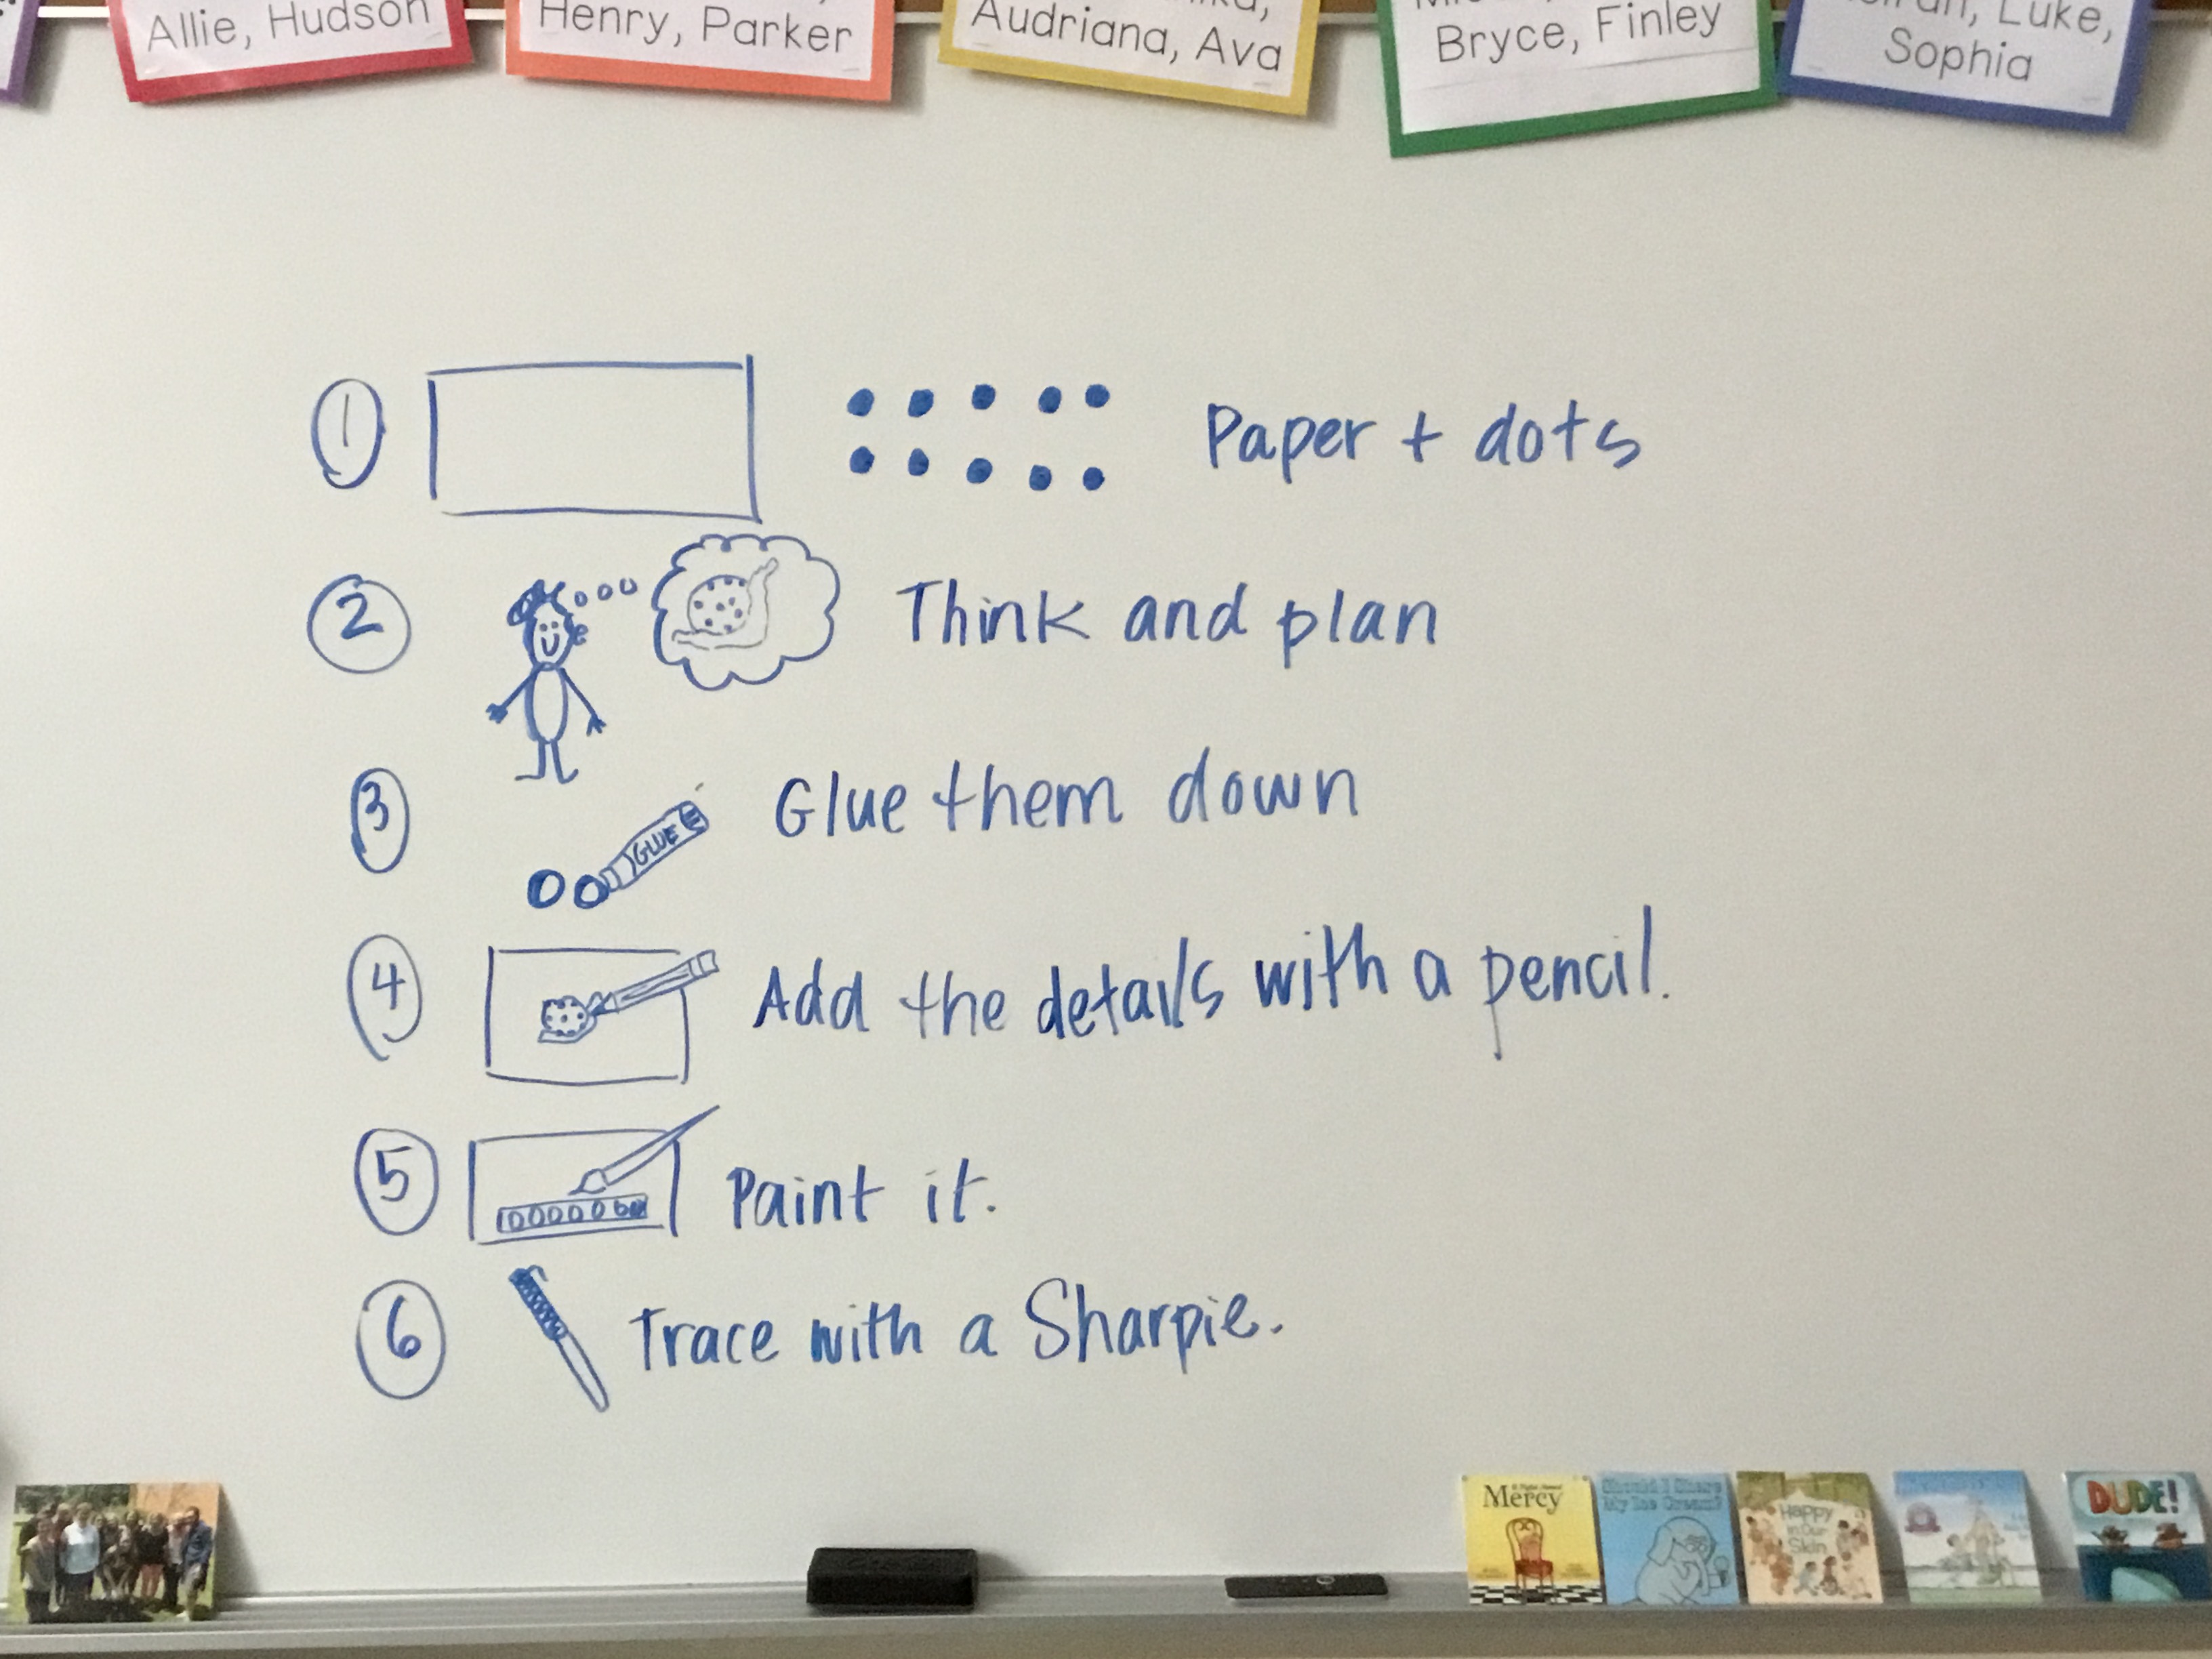
After we read it, we talked about how we might try this same thing with our own black dots. We brainstormed some ideas and then got to work. We followed these directions, and made sure we used our self-talk (keeping track on our fingers to help us remember) to help make sure we had done all the steps.
First we planned out what we would make, and glued down our dots. We added details with a pencil, per the directions. 🙂
Our paintings all spent some time drying in the hall–and even before they were done they looked really good!
Our last step was to trace our details and then add a sentence that said “Ten black dots make a…” But that’s for another blog post. Come back soon to check that one out (after I take the pictures, LOL!)
What would you make with 10 black dots? Leave us a comment to tell us your ideas! We’d love to hear from you!
Last year I wrote a story about my journey to understanding how and why directed drawing would be a good thing in the classroom. This year, I was even more dedicated to showing kiddos from the beginning how EVERYONE is an artist, as well as how important it is them know how to put their thinking into pictures. I decided that I’d start from the earliest days with this, and so we learned how to draw a boy and a girl.
I found a series of videos where an artist works with kids and teaches them how to draw things. In this one, he draws a boy and a girl and talks through variations you might do to make them different the next time you draw them. Here’s the video if you wanted to check it out:
As we watched the video, I drew the figures up on the board in great big form, and first graders tried it out on their smaller paper. They only had to do one or the other, but a couple took the challenge of drawing both the boy and the girl!
We stopped the video along the way to rewatch a step, or to answer questions. We erased, encouraged and enabled ourselves to not be perfect the first time we attempted this feat. We talked about how it’s true that this might be hard now, but that the next time we try it (to draw a kid or something else), it’ll be even easier since we’ve done it before. I heard many kids say how they were impressed by their first tries and also how happy they were at what their pictures looked like.
Another important thing I wanted kids to know how to do from the early days (because it’s a huge part of learning in our classroom) is to paint with watercolors.
So the next step, after we drew our kids was to learn how to paint them.
We talked about how to get water and carefully walk with it to our table (this is much harder than it might seem! 🙂 ), how much water to use to make the colors look richer or more transparent, as well as the order in which to paint so that the colors don’t run (yellow, orange, red, green, blue, purple, brown and then black). We also learned that when you make a painting, the whole paper has to be covered (with details and background). Then we tried it out for ourselves.
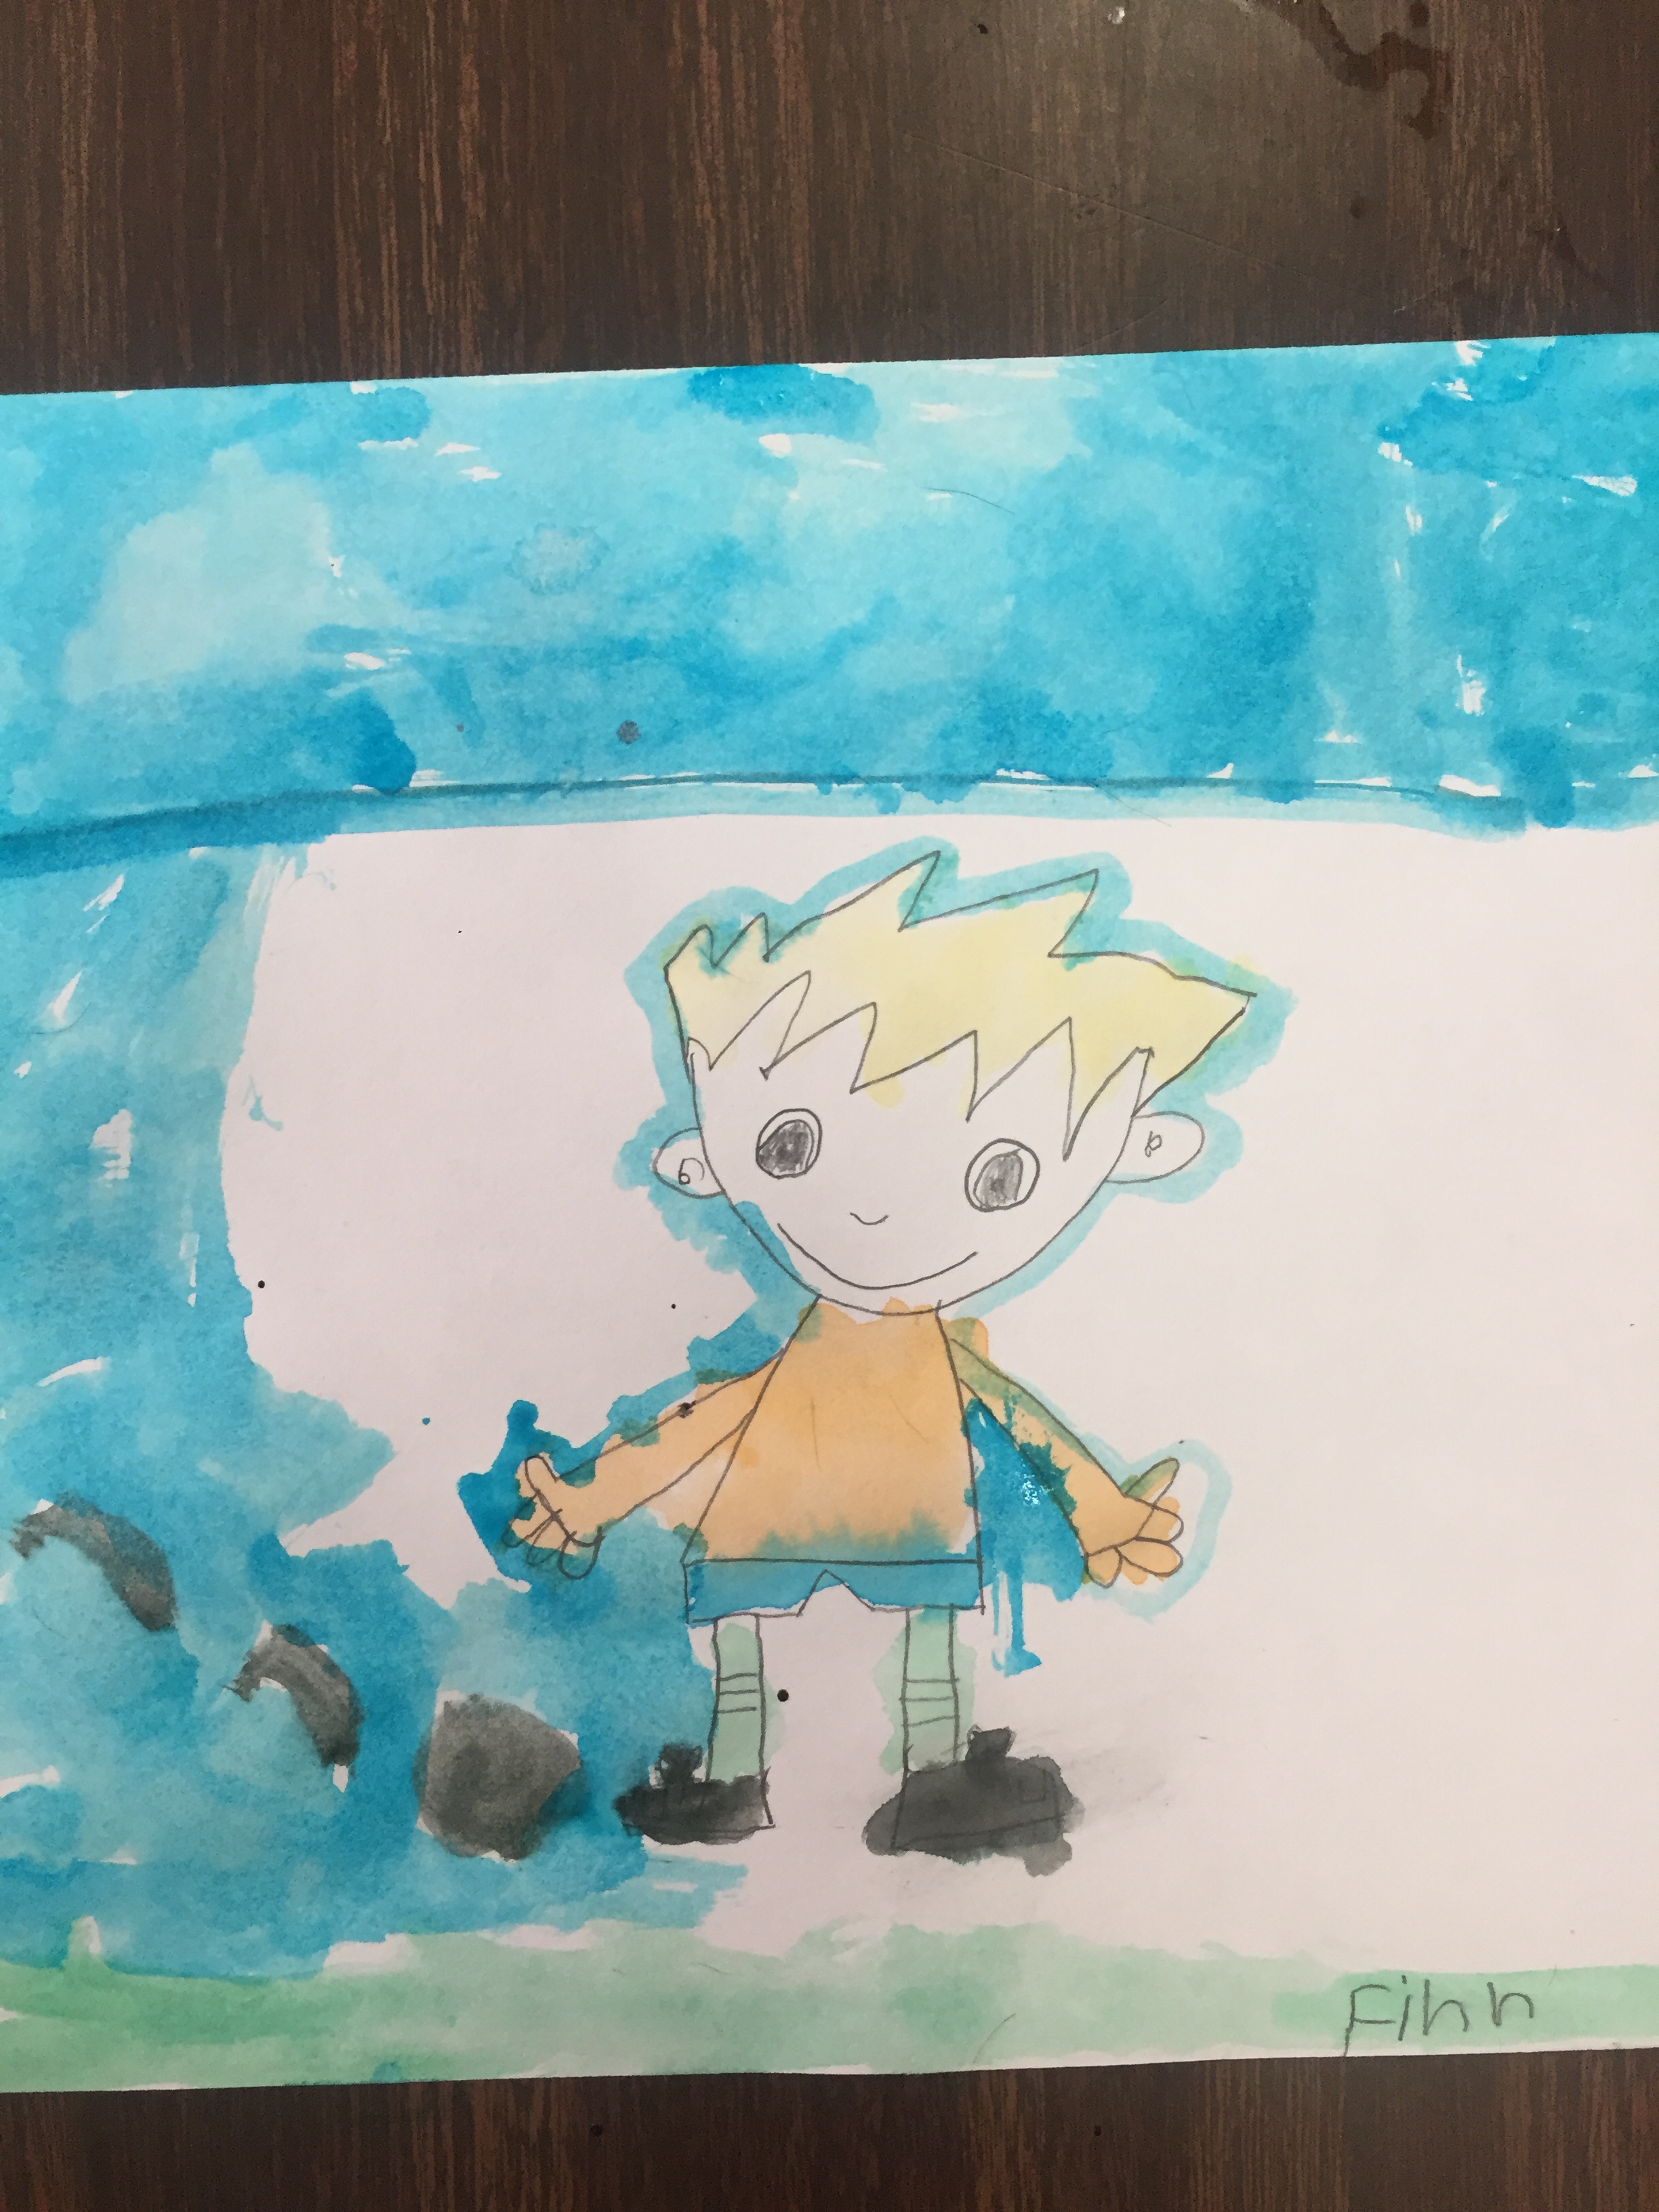
One thing I LOVE about doing whole-class learning like this, is that even though we’re all doing the same thing, we are all doing it in different ways. And I love how often a kiddo will do or say something that we can share, as it might be helpful to everyone at some point. This happened as I walked by and saw Finley doing this with his painting:
We shared how he outlined the figure with the background color to help make sure it was crisp and clear. Lots of kids tried it out, too! And wow–what a great thing to learn today and use for the whole year. And beyond!
After we were painted, we already had some pretty great results. 🙂
But we weren’t done yet! Last step was to trace our pencil marks with Sharpie and sign our work!
And so after all of that HARD WORK, we had a pretty fantastic painting and some skills we can learn for the whole year and beyond. Check them out!
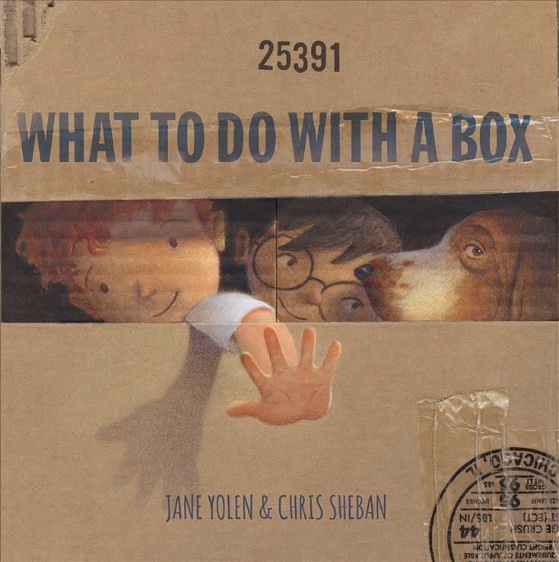
Every year when we consider what to do in our first days, there is a hope and a plan to make the first day (or two) so exciting that kiddos can’t wait to come back for more. Rather than spend our first times together as a class sitting and talking about rules, consequences, expectations and well, more of the same, we strive to SHOW them what’s important to us, and at the same time give them opportunities to have fun and make memories form the very beginning. This year on our first day we made ice cream butter, read lots of great books and got to build with boxes!!
Several years ago Ms. Turken and I found this book by a beloved author (Jane Yolen) and loved it right away. Then when we realized the invitation it gave kiddos for creativity and imagination–and that we could do it on day #1–we loved it even more!
The concept is very simple: you can do SO MANY THINGS with a box and your brain. :). After we read the story, we just looked at the box pile (sorry! I forgot to get a picture! 😦 ) and brainstormed what we thought we might do with those boxes. Many kiddos started to list problems they could see solving with a box (which was not necessary but a really great stretch of thinking!), or just fun things they might create to play with or use for something at home or school. We took turns choosing our boxes and then got busy!
We built and created for most of the morning (or maybe the day?!) and it was great to watch what happened! Kids were busy, working, cooperating, trying things out and trying again, and using all the grit and creativity they could muster. It was exciting to see that already this class knows how to tackle an open-ended situation where there are many possibilities. They took on the challenge with smiles and excitement and produced some pretty great results! AND they had a super fun 2nd day of school and were excited to come back for more!! 🙂
If you’ve been here for a while, you know that I have done some reflection on the appropriateness of celebrating the 100th Day of School (at least outside of kindergarten). Last year we decided to commemorate the 111th day of school in a small way instead because that was our room number. Not the most creative reasoning, but Rm. 111 kids really stepped up and we did some awesome things around the number 111!
This year we talked about doing the same thing again (new class, same plan) after I explained to them about how we didn’t need to do the same thing they did in kindergarten–this is first grade, after all!
And it did come and go….at least for one day. LOL . On Wednesday, the 112th day of school, Ali noticed on our ten-frame number on the board that we had in fact missed our special day! Oops. 🙂 . She asked me and I was honest with my answer. She seemed fine with that explanation, but pretty much insisted that we fix it by doing something that day. Ok, Al, you’re right. 🙂
During our Morning Meeting that day we talked about our new plan for the day (and yes, I admitted my mistake). They had ideas similar to what some of my previous classes have done, and thankfully most of their suggestions were totally appropriate and “doable” without much planning. Together we decided that we would read 112 books, have 12 extra minutes of math (which sounds weird but was the concession I could give them when they first asked for 112 extra minutes!), and that we’d do some reading/writing/drawing about Black History Month later on in the day. Pretty great ideas, I’d say!
Before we got busy with our reading goal, we talked about how we would make 112 books happen. Sam had a great idea of thinking about it like a math problem, and he helped construct a ratio table to figure out how many books each would need to read. We ended up with 7 or 8 each, and quickly discussed how we’d keep track. Chart paper and post-its for the win!
Remember how in the post about Twenty Yawns I talked about how great it is when the numbers work out for you? Well, it happened again as the chart we used could fit 9 sticky notes across. You can use multiples of 10 – 1 to figure out how many you have pretty quickly. LOVE IT!
Anyhow, we worked pretty much all morning on this, but ended up getting to our goal (and a bit past it!) just as it was time for lunch. PERFECT!
Oh, and I’ll share what happened in that extra 12 minutes of math in another post soon! The afternoon when they worked on Black History Month was also great, but I didn’t get any pictures of it. 😦 . I LOVE how excited these kiddos are about learning, and how much of that includes books!
Over the last few years, our school has begun to look differently at Valentine’s Day, choosing to celebrate an entire week (or even month!) of kindness, rather than just one day of candy and treats. We even had a team of teachers to brainstorm and share ideas that kids might do to show kindness, a calendar with suggestions and videos and displays around our school.
Another such idea that our whole school took on was the Kindness Quilt. It was actually a project that my class started last year, but something that never made it to the blog!? It was a project sparked by a book–as many of our best ideas are!–which we started with ourselves and then shared with others, eventually inviting our whole school to participate. 🙂
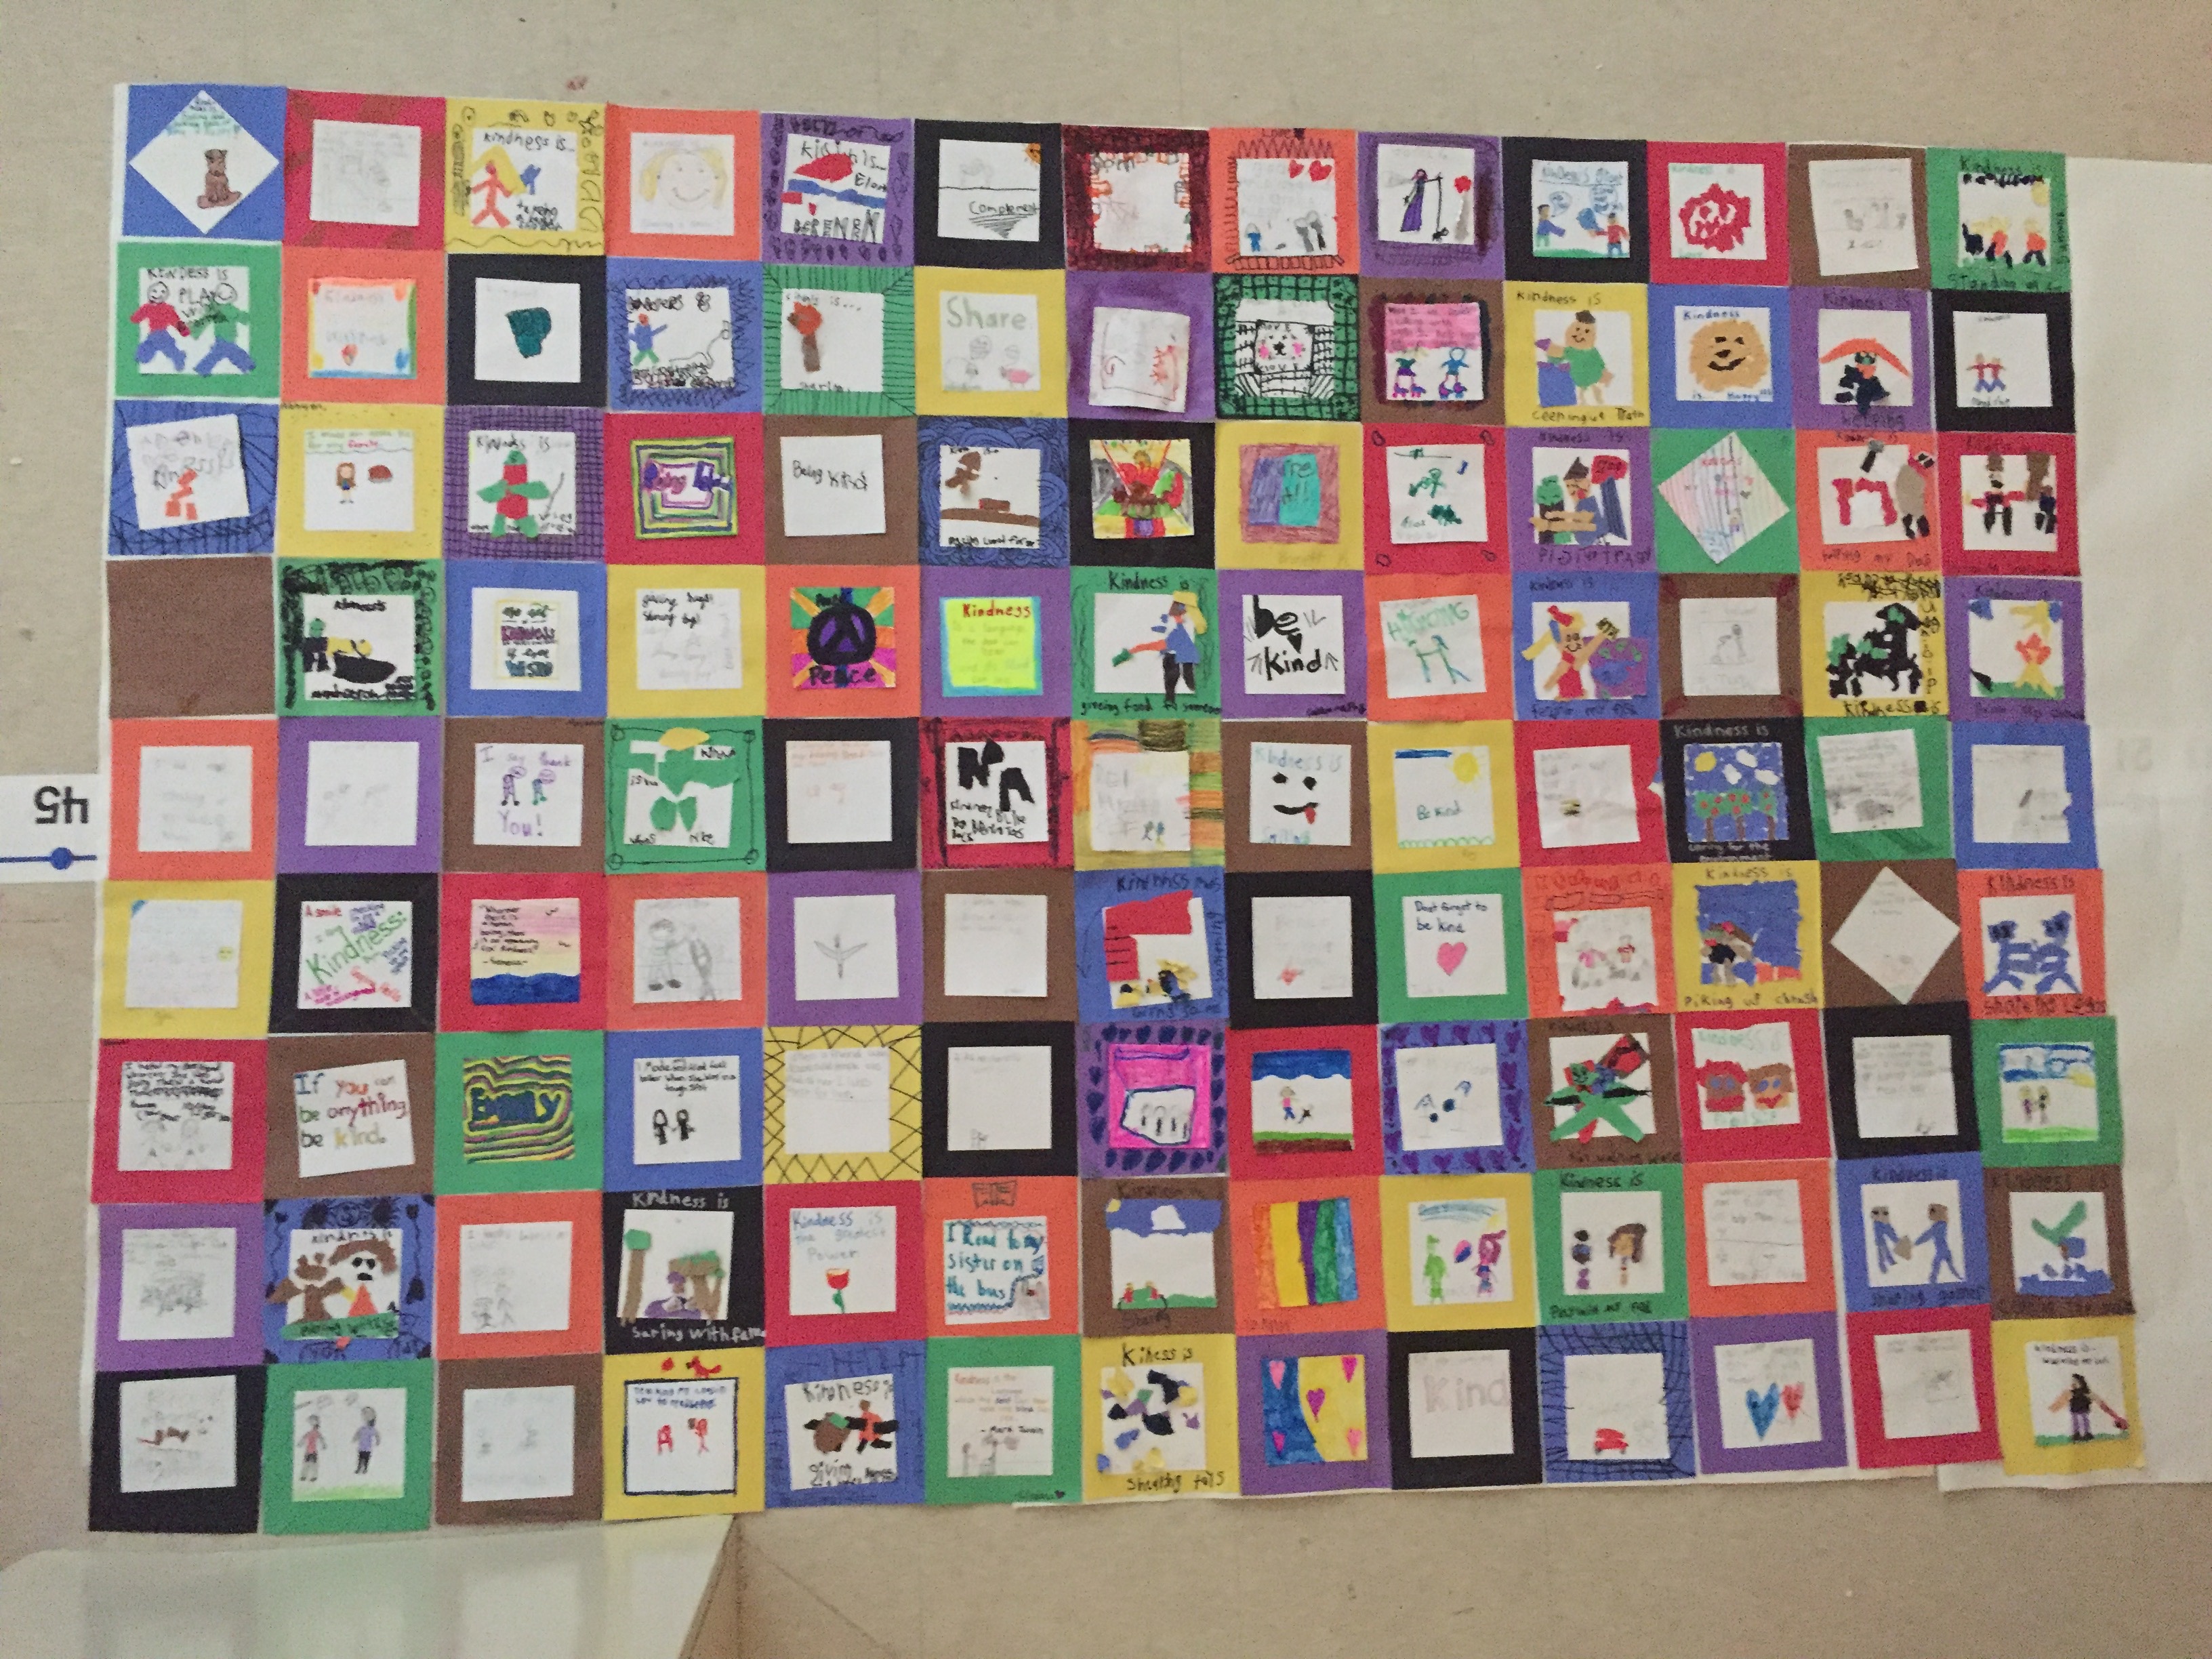
This year many kiddos and teachers knew it was coming, since they had made the quilt last year. We all started again, though, with the same inspiration: the book The Kindness Quilt by Nancy Elizabeth Wallace.
The story is about a little bunny who is also celebrating kindness in her school, looking for kind acts around her life as she goes through the week. Instead of finding just ONE kind thing she did, she finds SO MANY she decides to make a quilt out of her random acts of kindness. The quilt started with just herself and her classmates, then grew from the small bulletin board to the big one, and then eventually spread to other grades in her school. OF COURSE we wanted our kindness quilt to do the same thing!
I invited (and reminded) the rest of Robinson to join in our quilt endeavor again, and asked for teachers to let me know who wanted to participate. Very quickly classrooms started to tell us they needed supplies, so we got busy putting together supply bags for them to use. What great counting practice!
Once we had shared quilt squares with so many classes, we also had to make sure we had made quilt squares of our own! The directions were to 1) show your act of kindness on the white square using a torn-paper picture, 2) use the words “Kindness is…” and tell about your picture, 3) matte your picture on a bigger colored square, 4) decorate the edges of your colored square.
(A quick aside on why they have to use torn-paper: first graders can always benefit from activities and movements that increase their fine-motor skills. Using pinchers to tear small bits of paper helps strengthen their fingers, which helps in handwriting and other small movements. Also, there is a different level of planning and thinking involved with making a picture out of tiny shards of paper than just drawing it with a pencil, and I want them to be challenged to think in a different way. 🙂 We have done this before, so they were not surprised by the request, but yes, there are still some who fuss about not being able to use scissors!!).
Once we had enough squares done to start mounting them, I pulled out the butcher paper and got to work. Ms. Pachan and Makayla (a SUPER 5th grade helper who works in our room–and Makhi’s big sister!) helped out with this job, too.
And just so you can get a sneak peek of how our quilt will look (although at the end it will be MUCH MUCH bigger, here’s all the quilt squares as of Thursday afternoon):
I can’t wait to share updates as it grows and grows and we continue to celebrate kindness, long after Kindness Week is over!
I mentioned in a #classroombookaday update recently that we’d read a couple of persuasive texts that we loved.
We will later use the iguana book as a mentor text in our persuasive writing unit, and we found a great back-to-school-after-the-holidays activity to do with the other one. 🙂
My teammate found a version of this activity that involved actually “building” a house with tongue depressors, clothespins and notecards, and while it seemed great, I decided to do a less complicated version of the project.
After we read I Wanna New Room, we went back to the blueprint page of the story where Alex planned what he could include in the space if his dad gave him his very own room. We talked about what WE could included in our very own special space and then kiddos were give notecards to “make” the rooms in their house/treehouse/clubhouse/lair. They were to draw each part and label it, then describe it to us. :).
It was so fun to watch kiddos as they worked SUPER hard and for quite a long, focused amount of time creating their special spaces. I was also tickled with how each kiddo’s place was perfectly them–they included spaces that spoke to their personality, their hobbies, their loves.
Check out what we would have in our very own rooms (and how some of us would have LOTS of rooms instead of just one!). 🙂
During 2nd quarter of first grade one of our units (which I think is one of the most fun to teach and learn about!) is geometry. A few years ago, it was also a time when we were visited by a fabulous artist who taught us about watercolors and a new geometry/art project was born. The topic has been different every year (for example last year kiddos had to make their house), but the focus every time has been on using what they know about 2D shapes to create a picture, then paint it.
We used shapes we had already learned about and used in math (pattern blocks that were squares, trapezoids, rhombuses, hexagons and triangles) and traced them to create a design. It was pretty tricky for some of us, as we’re still working on fine-motor skills and the tracing part can be hard! No worries, though, because in Rm. 111 we have a boatload of grit and we just kept trying!
After we had a pencil drawing that covered the whole page (which is an expectation we have whenever we do a painting or drawing project on big paper), we were ready to paint it. Kiddos were asked to paint it to match the colors of the actual blocks.
As with most watercolor projects we do, the last step is to trace our pencil marks with Sharpie. This makes the shapes crisp and clear.
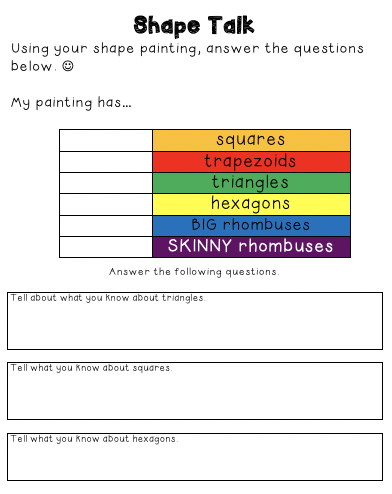
Our last step is to analyze the creation, showing what we know about the shapes we’ve been working on. Kiddos completed a sheet called Shape Talk, that went along with their mathematical design.
Often, depending on the time year this unit happens, mathematicians may be asked to write equations to show how many of two shapes they have altogether, for example: triangles + hexagons =
Once these were finished, they hung on our hallway bulletin board for a while and they were BEAUTIFUL to look at every day! Check out our hard work!
I found this project a few years ago, and have tried it with three first grade classes now. 🙂 Last fall must have been a busy time in my life because the 2017 version of this project did not make it to our blog. 😦 Oh well–here’s another iteration of this awesome project, which is a great combo of fall, pumpkins and books!
As with the last times we’ve done it, we started with the explanation, and this picture:
We talked about the possibilities for books and characters we’d use and made one really important rule: you can’t do anything in this example. :). As you might be able to tell, these are many of our favorite characters and EVERYONE would want to do them. This challenges them to think “outside the book” so to speak, and not just copy someone else’s idea.
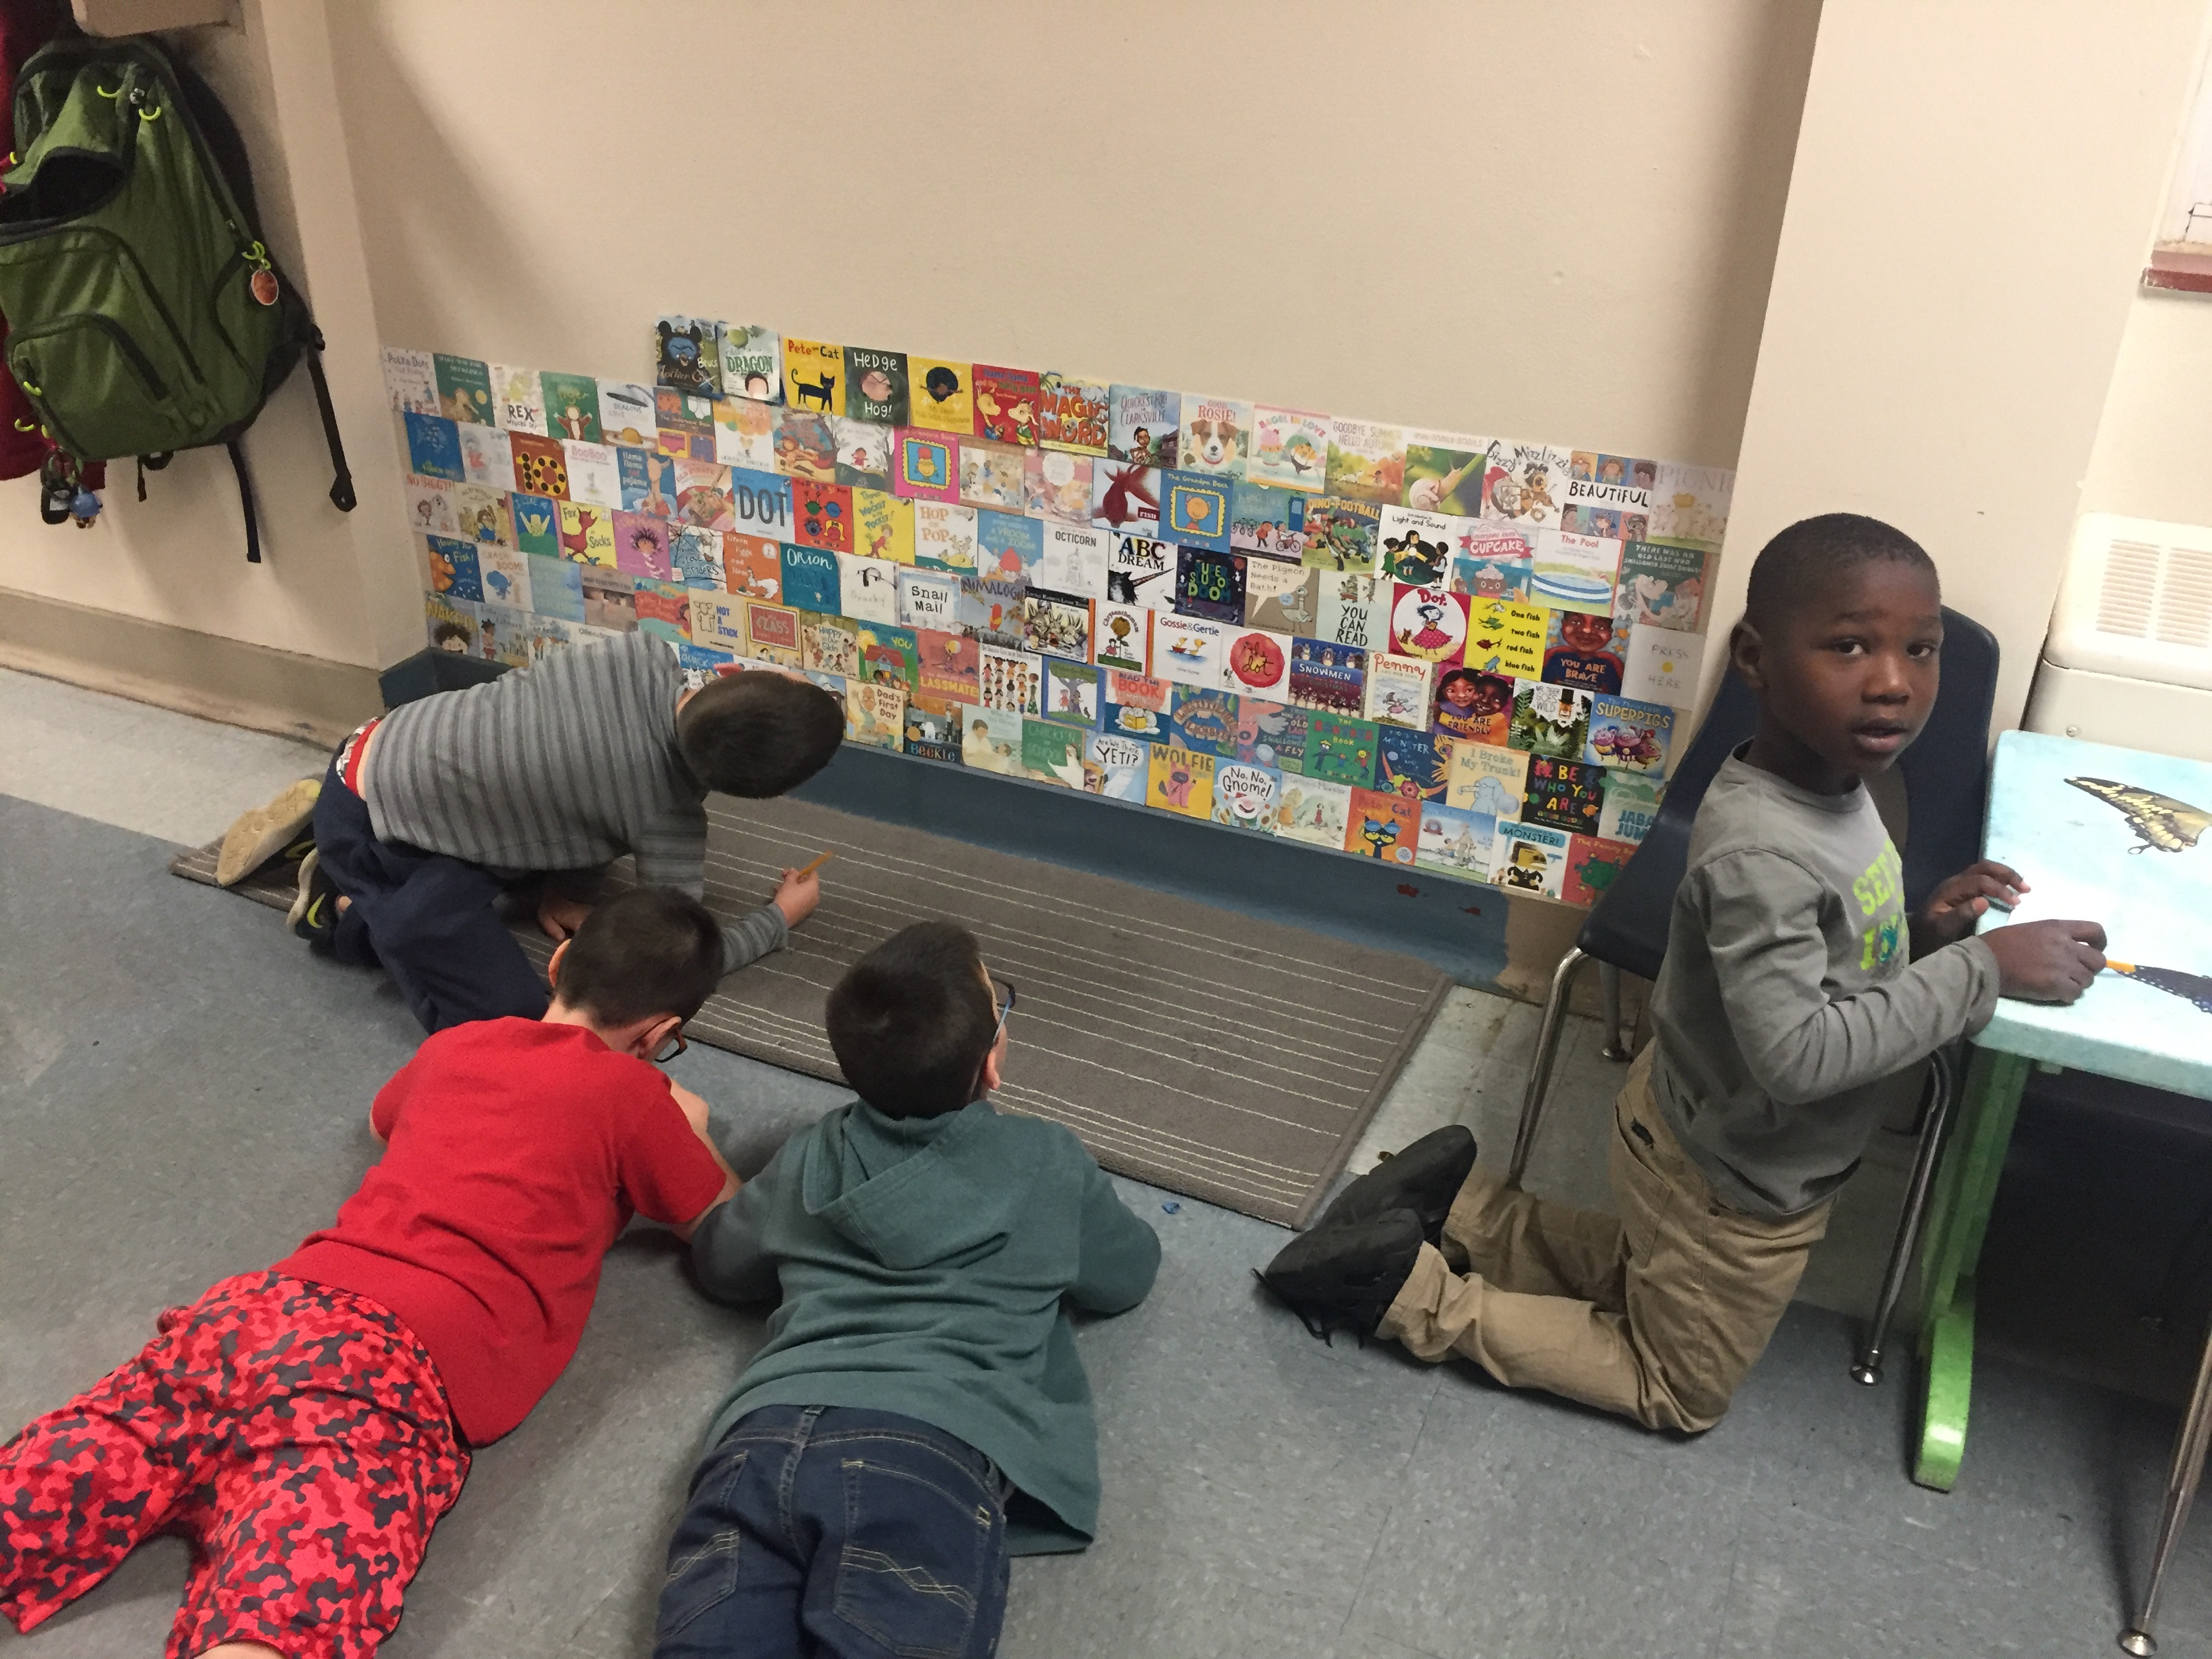
Kids had time to check out our book wall (another GREAT reason to display them low for all to see!), and shared their book choice (either from one we’ve read or one they’ve read or just love).
After their books were chosen, and Ms. Turken and I had given them their assignment (with the idea of trying to make sure all our our lanterns were different), they were to draw their plan, including a list of materials they would need to complete their pumpkin. Learners shared their plans with us (and each other) via Seesaw. Here are some of them:
Once everyone had brought in their pumpkins (plus some extras via some very generous families!), we finally got busy with the decorating!
We were finally ready to share our creations after we’d gotten our displays together–including a picture of our book and a recording of who our character was and why we’d chosen them (can you say “thank you KSD for the fact that we are 1:1 with iPads? WE are able to do SO MANY GREAT THINGS because of that!). Here’s what a few of those looked and sounded like:
We set up our Literary Lanterns and our iPads so that as kiddos from the other classes came through to see our gallery they could listen and look at our thinking. We also had a chance to go through and view our own class’ creations during the gallery walk. What a great end to a great Friday morning around Robinson school!
Ok, one last little slide show. :). Here’s a closer look at our creations! (It seems now that I’ve missed a few, but I will add them as soon as I get back to school!)