Gather in the Library

I have been busy in my new room, and yesterday I made a breakthrough! Have been working on getting the library–which is all around our meeting area rug–put together and the rough draft of it is pretty much done. I’m so excited to share what’s starting to take shape. There are many small details I have to fix, but I am so excited for our new class to gather in the library every day for learning!

Check it out! And I’d love to know what you think–leave a comment below! 🙂

Starting Over (Again!)

At the beginning of the year (ok, really at the end of summer), I walk into school with high hopes and lots of great ideas for putting my room back together.  Usually, this is a pretty quick(ish) job, because I start wherever I left off with my room plan from the previous year.  This past year that meant reusing the room zones that my first graders had worked out with the help of our 4th grade friends in Rm. 215 (see the room tour here).

But…this year is not just a “regular” starting over.  This time I’m starting over in a new room!  This is an exciting idea, but does come with some problems, or at least it means I will have to do some problem-solving as I figure out how to use the brand new (huge!) space in the way that makes the most sense for myself and my kiddos.  What?  You want to help me?  SURE!!  I love to hear ideas from others about spaces and would love to know how YOU would fill/arrange this space.  Lucky for you I took a video of it when I was there today.  Here’s what it looks like:

And yes, I realize it is SUPER annoying that this video is taken vertically.  Sorry.  I forgot. 😦

As you give suggestions, here are some non-negiotiables:

  • space to read
  • space to meet together (big rug space)
  • space to build (we have big blocks, lots of Legos and recyclables)
  • space to be quiet (alone or with others, but no talking)
  • space to be messy (usually I put this by the sink, but I guess that could change)
  • space for 20 kids to work, but not necessarily at a table (flexible seating is great)
  • spaces to work with a group
  • spaces to work with just a partner
  • space for our Tower Garden, an aquarium and hopefully a sand/water table

So…

Teachers:  What would you do with this space? Where would you put the necessary areas/zones within the space?  What do you have in your classroom that I didn’t mention or that you think is great for kids’ learning?  What did I forget on my list?

Parents and Students:  What would you like to see in our learning space?  What spaces would you like to add that I didn’t mention?  What would make you feel comfortable, creative and confident in your learning space?

Ok.  Here we go–it’s your turn!  Start your suggestions now.  Can’t wait to see what you have to say!! 🙂

Rm. 202 Room Tour!

I am SO excited about the changes that have recently happened in Rm. 202.  (In case you’re just joining the story, be sure to catch up here before you go on.  I promise it’ll help this video make more sense. 🙂  Or at least it will make you super happy because you read the stories of some super cute and super smart kiddos solving problems!) But beyond the changes we’ve made in our room, I’m even more excited that the room tour is finally finished so we can officially show it off to you–from a kid’s point-of-view!  With the help of Rm. 202 kiddos, my own kiddos Riley and Allie, and even Ms. Turken (our next door teaching neighbor), we created a video to show how each zone works and explain what we might do in each one.  It ended up a little long (almost 10 minutes!), but we promise it’ll be worth your while to watch it (and maybe even share it, too!).  Grab your popcorn and press play below when you’re ready!  Here we go!

I wanted to take just a second to put in my two cents about the positive changes I’ve seen in my students since we first started addressing ICEL and working to create a more engaging, motivating experience in Rm. 202. 🙂

One of the biggest positives that has come out of our room redo is the amount of time my students spend engaged and learning.  While I thought I was doing a great job of making things interesting, open-ended, giving lots of choice and opportunity in their learning, my students’ behavior was showing me that they needed more.  Or at least that they needed something else.   What I realized after our zone creation was that our environment previously offered TOO MUCH choice. Too much room for interpretation and too many things that were confusing to many kiddos.

Watching the way Rm. 202 students interact with both our room and each other now, I can see how much more confident and safe many of them feel.  Before, when I thought I was providing a place to be free and creative, for many I was creating a space that was unfriendly and unpredictable with too many unknowns.  I see now that, in many ways, I KNEW how things were supposed to work, but students were less sure.  Now that areas are clearly marked and labeled, and THEY HAD A JOB in creating these areas, students are never unsure about what is allowed and what is not, nor do they wonder where they should go to work on certain things.

Another thing I didn’t anticipate but that I LOVE is how clean our room has been over the last few weeks.  Partly this came about because when you move things around you end up throwing away a lot of junk, sweeping under things, decluttering, etc., but I know it’s always because now EVERYONE knows where EVERYTHING goes!  No longer is there a question about where the games are housed, or where the Lego shelf is supposed to be, whether or not you should have books or iPads in a certain part of the room, or where the art supplies go.  There are a couple of kiddos who have really taken it upon themselves to help keep this up, too, and this makes the whole thing so much easier.  We’ve begun teaching a couple of kiddos exactly what it means, too, when I say “clean up”–as this was a skill in which they were lacking.

I am SO GLAD that we did this, and am super glad that the benefits can be seen by all of us who live in Rm. 202–not just me.  I don’t know if you caught it, but I believe that in the video section about The Kitchen, Mara mentioned that zones help us feel more calm.  I can totally see now that my students needed more freedom within a  STRUCTURE with STRONG BOUNDARIES, not just freedom that came willy-nilly or with lots of breathing room.  There are some kids who can function in any situation, but there are some who have a hard time figuring things out when there is lots of “gray.”  This renovation, if you will, added a layer of black and white that we didn’t know we needed.  And the best part is that it all happened BEFORE we left for Winter Break, so now we can start the New Year fresh and clean in a brand new room, looking ahead to some amazing days to come!  🙂

Happy New Year, Rm. 202!

Before you go, can I ask you a favor?  If you’re a parent of a friend in Rm. 202 and you have a specific story to share about how our redo has helped your kiddo, will you share it in the comments?  We’d love to hear more about the positive ways our problem-solving has helped.  If you’re a friend of Rm. 202 and have a question, comment or suggestion for us, will you share it also?  We’d love to tell you other parts of the story that maybe we missed. 🙂  THANKS FOR VISITING!! 

Riley Helps Out: Rm. 202 Kids Take Over–Part 4

The subtitle of this should add: “And Allie does a little bit, too!”

After kiddos left on Monday and we had our chart of what they wanted in our new room layout, Riley and Allie and I got busy.  And in case you’re new here and aren’t sure who I mean, let me show you my cutie-pie kiddos.  Riley is in 4th grade this year and Allie is a new kindergartner at our school.  It has been fun to have them join me at school, and is also great how often they help me in my teaching.  They have such great ideas and different takes on things than me–I like to throw things at them and see what they think I should do.  They are often the ones that help me come down off the ledge and keep me from doing things that are TOO crazy in Rm. 202.  Thanks, kiddos. 🙂

img_5528

And…this year Riley has become the superstar room planner of my dreams. 🙂  Because he has been in such a responsive and collaborative classroom this year, he’s learned a lot about how to really think through how your space works and how to fix things when they don’t work the way you wanted them to work.

So after reviewing the chart my class had made and thinking about how we could best use the furniture and room space available to us, we let the ideas fly.  I love that I could hear what the conversations had been like in his room as he said things like “Let’s just try it and see what we think” or “What about this?”  He had some great ideas for where each zone should go and gave conclusive support as to why they made sense.  My favorite part was when he used our cubbies to create the hands-on zone on one side of the room, explaining that the height of the cubbies would create a nice sound barrier as kids worked there.  It’s a place my cubbies have NEVER been and I had NEVER thought of putting them there.  The block box fits PERFECTLY into the corner of it and there’s plenty of floor space and table spaces for kids to work creatively and collaboratively without bothering each other.  Genius!

He suggested the corner be where we put the reading zone (again–a place I have NEVER put the library in the 5 years I’ve been in this room), because it allowed us to have a white board to put charts, share ideas, and it created a cozy space.  He wanted the shelves to face outward so we could put the soft pillows against them to provide a nice place to sit.  AND we found a way to use 3 cubbies to stack tall enough for a lamp to light the area.  It’s one of the only places in my room with an outlet, so again–genius move, Riley. 🙂

The rug is next to our ActivBoard now and is a nice, open space for our class to meet together, or for partners to work or even for kiddos to work alone with lots of space.  I have lots of favorite parts, but the back corner near the sink is now officially called The Kitchen, and has our big ‘ole kitchen table to work at.  I’ve always wanted a space like that in my classroom, to  help bring home to school, and I think it’s going to be just what I’d hoped for.

While I wanted to have a tour and some pictures in this post, I think those make more sense in later parts of the story.  In fact, my kiddos will be working on how to present how our room works as we begin this next week together.  I want them to tell how it’s changed our lives and explain the best parts of the new layout.  Stay tuned for that!

Also in the plans for next week is an invitation to Mrs. LeSeure’s class to come check out our space.  Without them and their expertise, I don’t think our space would have been so well-imagined.  You guys rock!


The E in ICEL: Rm. 202 Kids Take Over–Part 3

Our class has been doing some super work lately with trying to figure out how to be our best learning selves and problem-solving about how to do that.  I’ve been helping them by thinking through the ICEL protocol:

screenshot-2016-12-17-20-13-19

An unexpected transition to the E in ICEL (which is the ENVIRONMENT in which your students are learning, the WHERE of learning) came when we were in Ms. Turken’s room on Friday morning.  As we were working on writing after visiting with Mrs. Marks’ friends, I noticed how differently focused, engaged and quiet my kiddos were.  I noticed the different ways they spaced themselves out,  as well as the people they were working with (along with the fact that many of them found quiet places to work alone).  I noticed that they were all writing, they were all productive and they were all using supplies kindly, efficiently and in the correct way.

We took a second before we left their room to have a chat about what they noticed.  I wondered if they felt the difference.  They mentioned things like the corner of the room where there were two low beach chairs and a low table where kiddos could read.  Callahan thought it was like the Zero Zone in our library. He and Kaiden found that to be a great place to work quietly next to each other.

We all noticed that there were many different kinds of spaces to use for work: places for singles, partners or small groups; places with chairs, and places to sit low and kneel on a rug.  Keira found a bench where she could lay down to do her writing.  Rachel was tucked away on a little bean-shaped table around a corner working alone, and Peter found a hexagon table on the other side of the room where he could work alone as well.  Ms. Turken’s room has a kidney table (or some kiddos call it the rainbow table) where there were 5 or 6 kids all writing and chatting together; Penny chose the rolley chair.  Even with that many kids all in the same place, they were focused on their work.  A low rectangle table looked similar to that on the other side of the room.

Even their rug was a mystery.  It’s the same rug that we have in our room, in generally the same part of the room, and has books on three sides of it just like ours.  But no one seemed distracted by the books, kiddos didn’t sit WAY at the back and everyone seemed to be focused on the teacher chair and the easel.

We agreed that there were some things that we could take back to our space and try to emulate in our room so that we could try to get the same results.  Maybe there were some things we didn’t know we needed until we saw them somewhere else.  Our next step was to have kiddos draw pictures/maps with their ideas for what our new layout could look like, but this was a little bit problematic because we hadn’t done much map work like that before.  I was able to see in their illustrations, though, what was important to them.  We all agreed the Zero Zone was a must, and that we could try different tables/spaces; all of our tables are round ones.

Since I knew the whole “zone” idea was a big one to them, I suggested another place they could visit that had zones.  I hoped this would give them another vision for what they might want/need.  I called on my friend Mrs. LeSeure, who is both a master at space planning and who I knew had already gone through many designs in her own room this year.  My son, Riley, is in her class, and with 27 students and an interesting room shape (it’s a small octagon I think), they have had to be very creative with how they put the people and the furniture in there for the best results.  Just like Mrs. Marks, she agreed to let us come over and learn from her kiddos.

The next school day, which was Monday, she sent some of her friends to take my first graders to explore their space.  The 4th graders were each in a different zone of their room, and groups rotated to each place, learning about how that space is used and how they decided it was an important place for them.  Half of my class went as a time, and then we came back together to share out what we had seen.

We talked and put together a chart of our thoughts.

fullsizeoutput_12e7

As students shared their reasoning behind what they liked about each zone and why they thought it would work for us, we decided if it was something that was possible for us to actually do.  We agreed that probably all of this chart was, except for the pet.  Mrs. LeSeure has a turtle named Javy, and kiddos thought he would help some of us be calm and focused while we work.  It’s a bit of a jump right now, so I assured them that when we get the worms from Mrs. Berger after the holidays and can work with them with their composting, it will work in the same way.  Crossing my fingers that that will happen. LOL

By that point, it was the end of the school day and we had to go home.  But I knew that my work wasn’t done.  I asked Rm. 202 kids if they trusted me (as well as Riley and my kindergartner, Allie) to do some work after school.  Then they could try it the next day and we could see what happened.  They agreed and left VERY EXCITED to come back the next morning.  And now I know YOU’RE very excited to come back and read about it in my next post, right?  I’m excited to tell you the next chapter. 🙂

Gotta Count ‘Em All!

We’ve been working on a beginning counting and place value unit in math lately, and the premise behind the investigation is that we need to organize and do inventory on things in our classroom (this came after we read a story about a messy family called the Masloppys and how their son Nicholas does just that in their house so they can find things!).  We’ve been counting everything in our room. And I do mean everything.  If it’s not attached to the floor (or too heavy to pick up), someone has put their mathematician fingers on it!

Kiddos worked in pairs to catalog a collection of classroom items (and then many more as they finished), focusing on using efficient and accurate ways to count the group.  Students were charged to find a way to easily share their thinking with others; counting by groups or keeping track made it easier to tell someone else what they had done.   Callahan and Jesse were especially proud to share the learning they had brought with them from kindergarten (“Mr. Peacock taught us to make groups of 10!”), and they made bunches of 10 crayons into a bundle of 100!

We have had many conversations sharing kid strategies, tips and suggestions for how to count large groups of things, and then we started to look at the numbers of totals.  We wanted to know how many bundles of 10 we would have in each amount (if we counted like Callahan and Jesse!).  Our chart began together with some class numbers, and then kiddos got in on the fun (work!) as they continued to count EVERYTHING in our room:

fullsizerender-4

(As a side note, I am always excited with how many possibilities there are for ELA in math–here for example as I could conference with kiddos as they wrote on the chart and helped them work through sounds in words!)

It was funny as kiddos kept running up to me asking “Can I count this?”  The more they counted, too, the smarter they got at using efficient groups–notice all the rubber bands, cups and baggies in our pictures?

We counted so many things we needed to record that Rachel asked for a new sheet.  Love it!

fullsizerender-3-min

The next phase is moving into further connections with 10s, as we think about how many we’d have to had to have whole groups of 10 for each item.  We’re playing math games to make combinations of 10 in a variety of ways , and will continue this thinking as we move into addition and subtraction.  Place value discussions throughout the year will go back to these beginning inventory experiences. 🙂


Sneak Peek Take 2

I was working again today (be sure to see the Sneak Peek from Monday if you missed it!) and have a few more things to share.  If you can share this with a Rm. 202 2nd grader, please do so!  If not, enough it for yourself!  I have at least one place I need your help with (see the picture captions below), so please leave a comment!?  I think I’m almost there!

wpid-cam02201.jpg

The calendar’s ready for Open House night, are you?? 🙂

wpid-cam02204.jpg

I got the timeline all back up–whew! Because we wrapped it all around our room last year I had to take it all down and start on an upper row, so now it’s a double-decker timeline. That leaves some room under it now for our self-portaits–that we’ll redo during our first days together to show our 2nd grade selves! The black doors will hold anchor charts (right now I’m thinking one door for each subject to start out with), and the closet on the right will be labeled “Quote Worthy” and will collect smart words that inspire us.

wpid-cam02202.jpg

Because I moved my kitchen table over from where it was last year, I decided to use this shelf space differently, too. The top shelves of books are still my stuff (the top is professional books, and the bottom one is books I teach with), but the bottom is now for kiddos. The bottom row is puzzles and games that kiddos would use for choice time or recess, and the upper shelf is reading and math games. We will work very hard in the beginning to make sure we put things back just this way every time. I might even post a picture nearby so they remember what it’s supposed to look like!

wpid-cam02203.jpg

Ok, so this is the part I need some help thinking through. Because of the way I’m using this shelf space differently (and partly because of a different layout in the rest of the room), the whole left side of this wall of shelves is EMPTY!! Ok, well I threw some tubs and crates up there to see what would fit, but they’re all empty, too. I thought I could use the bottom shelf for tables tubs (they’ll hold pencils, iPads and Writer’s Notebooks for each team) instead of putting them on the windowsills. Not at all sure what to do with the rest of it. I know that having TOO much space is not really a problem, it’s a gift that not all teachers in all classrooms have (sorry, Mr. Bearden!), but i just want to make sure I’m not missing something. I like the idea of leaving it all free so kids can have it for whatever–display space, drying racks, places to house “stuff” they’re working on but are not finished with yet….what ideas do you have? And yes, I will ask Rm. 202 friends when they get back, too, because I’m sure they will have a great idea I hadn’t thought of!

One more…

wpid-cam02205.jpg

Just doing a little bit of labeling tonight! Can’t wait to see it all tidied up and in place. Soon! 🙂

That’s all for now.  It’s coming together!!

(Just for fun…here’s a Sneak Peek post I wrote in 2012 when I taught 5th grade….)

Sneak Peek!

It’s officially August, which means that my husband and I become teachers again (instead of just cool people hanging out during the summer!), and begin to spend time in our classrooms.  It was my turn to spend a little bit of time in Rm. 202 today, and I thought I’d share a sneak peek of how it’s coming together.  I am still very far from being finished, but have the furniture in the right general area and the layout is pretty much set.  I’m pretty happy with how it turned out.  I’d love to hear what you think, though!  Share your thoughts, won’t you?  🙂  (And as I post these pictures, I realize I should have done this whole post as a video.  Duh.  Sorry!  Next time. 🙂 )

Ok, this tour starts as you come in the door and then works around to the left…

wpid-cam02178.jpg

I’m super excited about this first meeting area. One of the last times I taught 5th grade I had two meeting areas (you’ll see the other one in a minute), and we loved the flexibility of being able to use different areas for different things. This year, in addition to thinking about meeting spaces, I am also thinking more about how kids will use those spaces. In this case it means that those 2 tables are lowered all the way down and kiddos can sit on the floor to work at them. Or hey, they could even be benches if kids wanted to sit on them when we meet by the ActivBoard. I haven’t fixed this part yet, but I’m gonna add tennis balls to the bottom of those so they can easily be moved around as we need to change our space. Thanks Ms. Appelbaum for reminding me of how flexibility is a really good thing. Such a simple idea, but one that I was NOT thinking about…

wpid-cam02179.jpg

To the left of those blue tables is our main meeting area. We got a new rug from Mrs. Marks over the summer (after we did some super smart work to figure out it would fit and wrote a letter to our custodian , Mr. Maus, asking him to move it for us!) and it’s looks great! The black shelf in the middle houses most of our writing supplies, and the black shelves on the right are one set of our cubbies. There are two “personal offices” (a.k.a. desks) for kids who want to work alone. Another new addition this year is the rectangle table in the art area. I found it in my garage, and it’s the perfect size for the space. I’ve raised it all the way up, so kids can stand to work (and I’m thinking about adding stools, too). The counter is still a mess, but that’s where the creative stuff in our room lives. Kids can stand at the counter, too, once it’s cleaned off.

wpid-cam02180.jpg

This is the view from my chair at the rug. 🙂 I moved my kitchen table this year to utilize (finally!) the only white board in our room. Last year I met with small groups on the rug at the easel, but might do more with this space for groups instead. Or not. Flexibility is the key, remember? The black doors will house anchor charts (I’m thinking each door will be a different subject).  The two doors on the right will be where I plan on putting our “junkpile” for making stuff, but I’m still working on it.  I had a hard time finding a permanent place for the block box, so finally decided to keep the wheels unlocked and now it will roll wherever we need it to go! That rug is one that kiddos use with the cars when they build. It’s moveable, too. Still haven’t decided where to put our trampoline

wpid-cam02181.jpg

View from that tall table…these two tables are “regular” height and actually have chairs! The coffee table returns from last year, and I moved the library to this spot by the front door. There’s a great shelf under that black bulletin board that fits our big books, and the rug will be nice to sit and read on with friends! The plan for that bulletin board is to be “What do you Wonder About??” where we’ll collect our questions and wonderings this year.

wpid-cam02182.jpg

Two years ago the library was here in our room, and then last year I moved it to the middle. Then I decided I really liked the way it worked this way, so I moved it back! You probably noticed, though, that many other horizontal surfaces in our class also have book boxes, so really the library is EVERYWHERE!

Whew!  That was fun!  What do you think?  What questions do you have?  Suggestions?  Please share your thoughts!  I’m excited to continue working.  And then, of course, it’ll be fun to see how it all works (or doesn’t!?) when there are kids in the space.  🙂

Read Aloud Timeline: How-To!

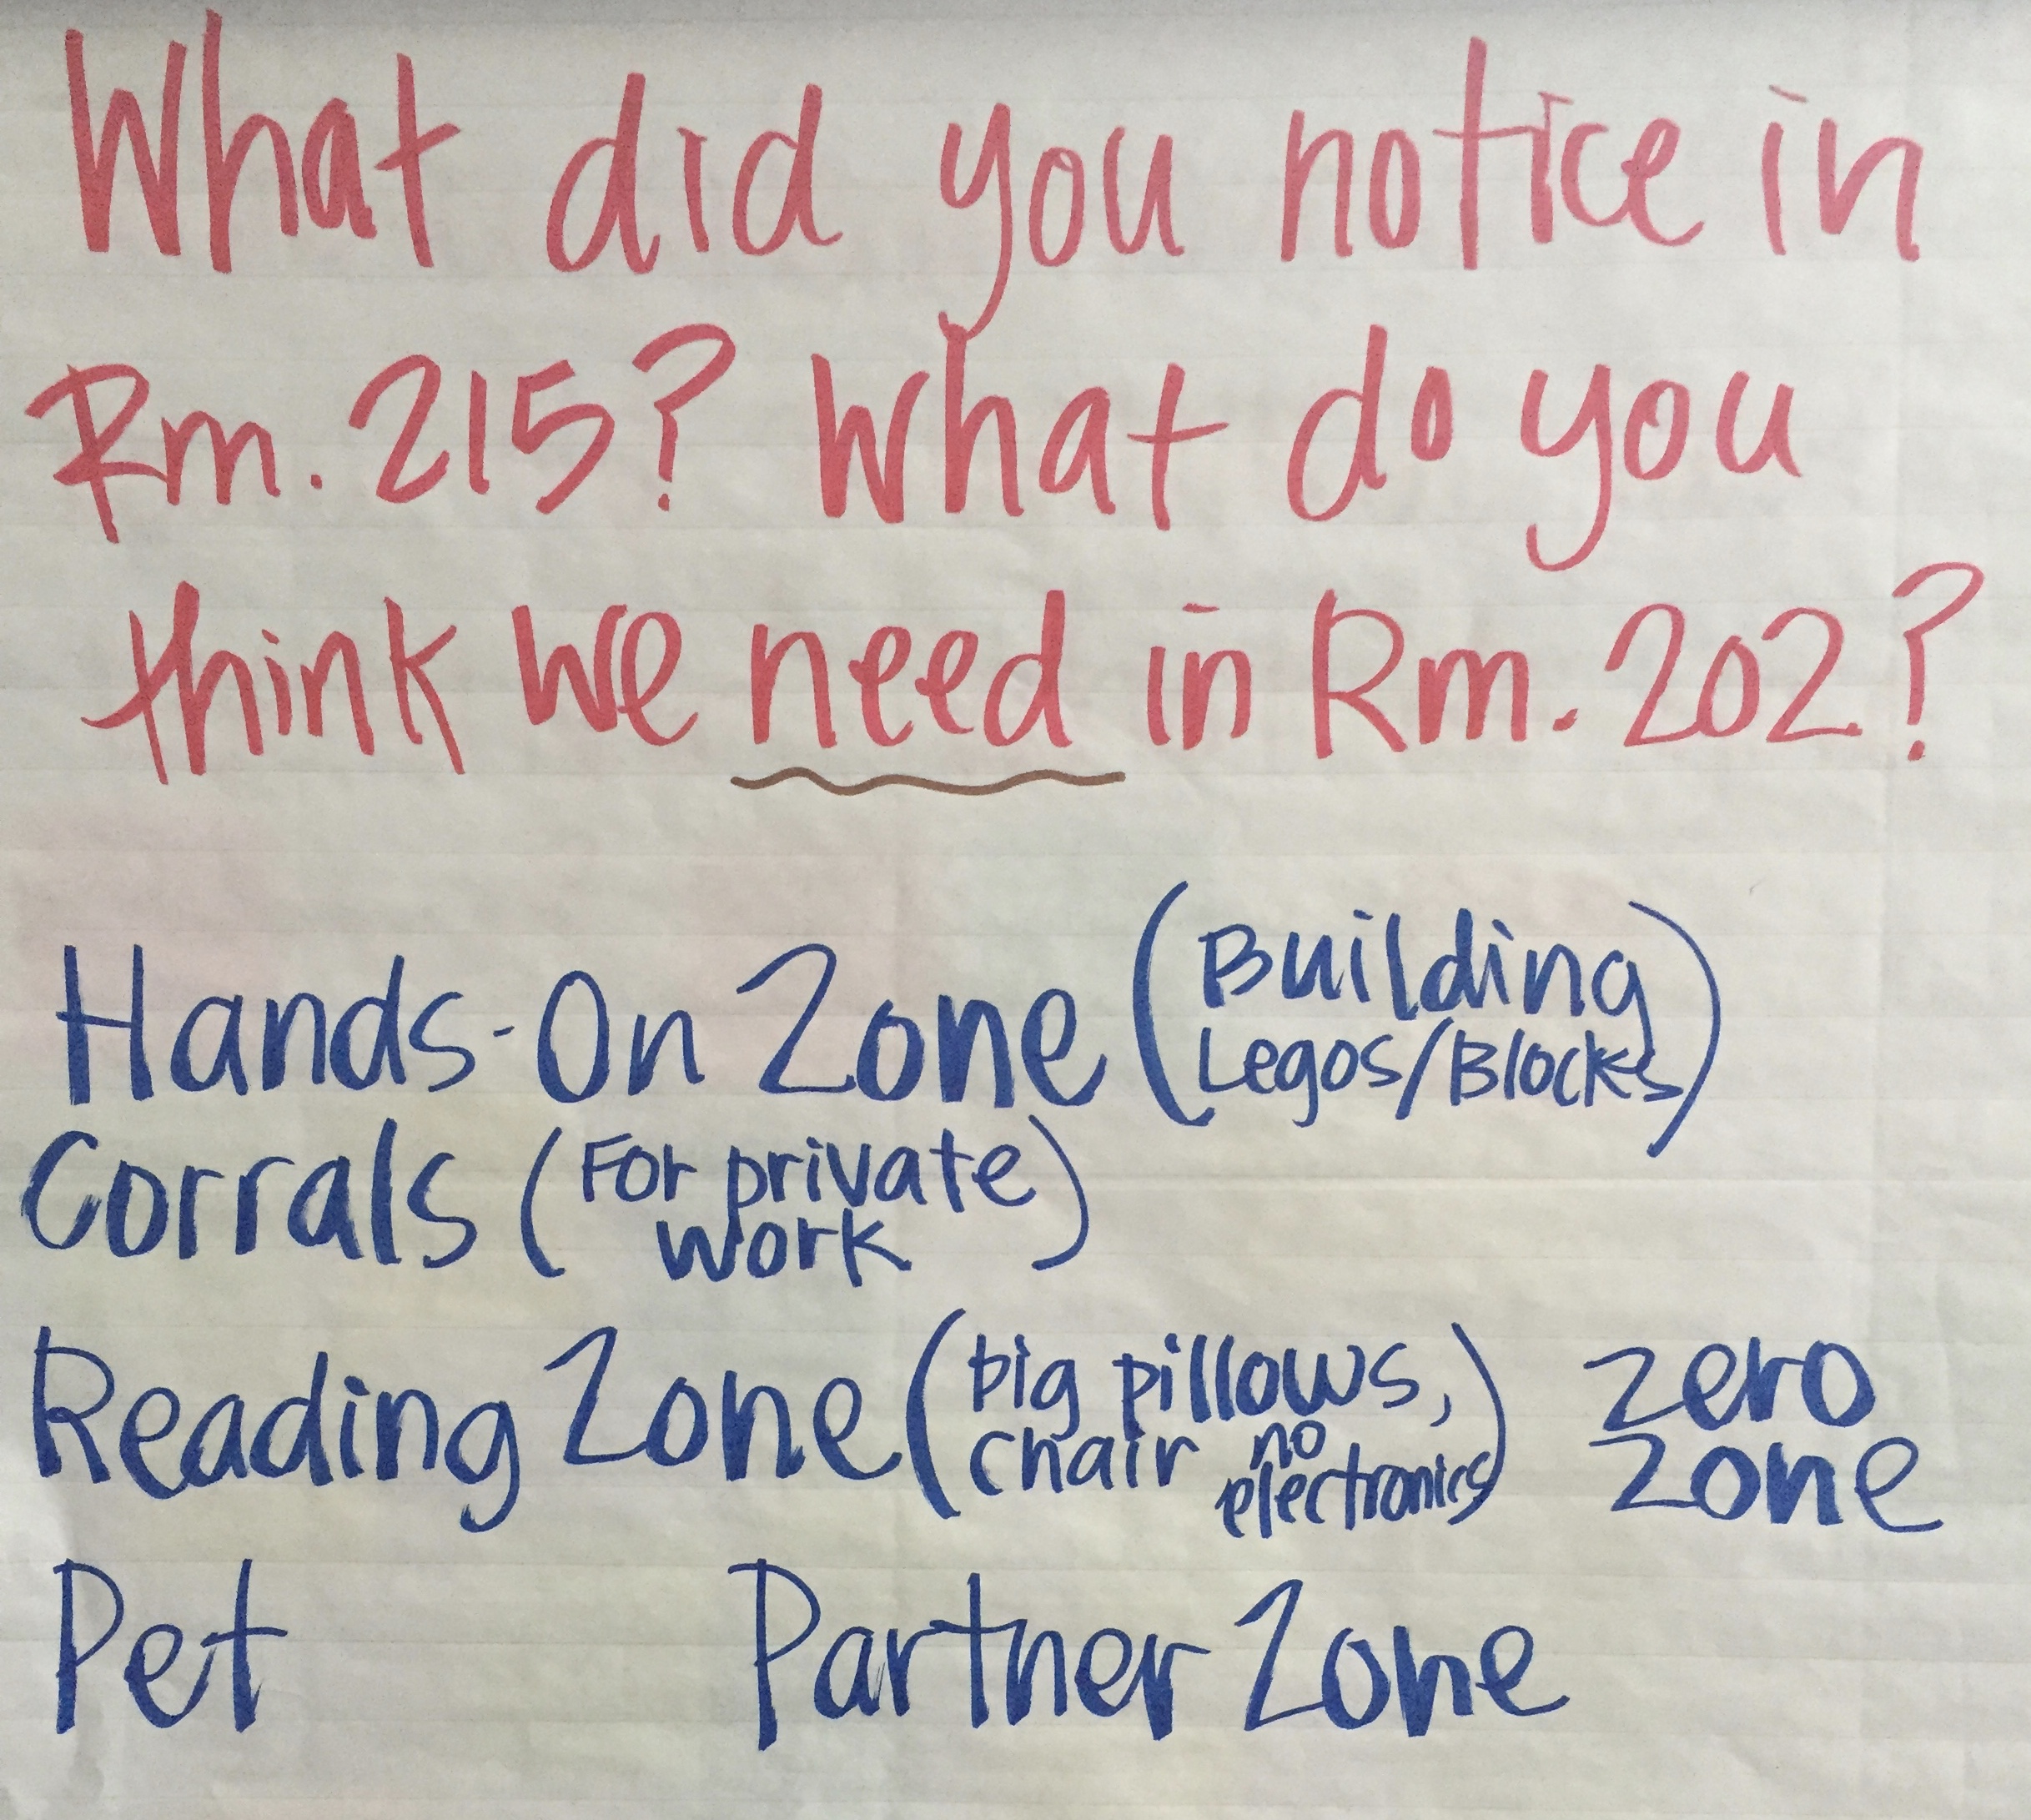
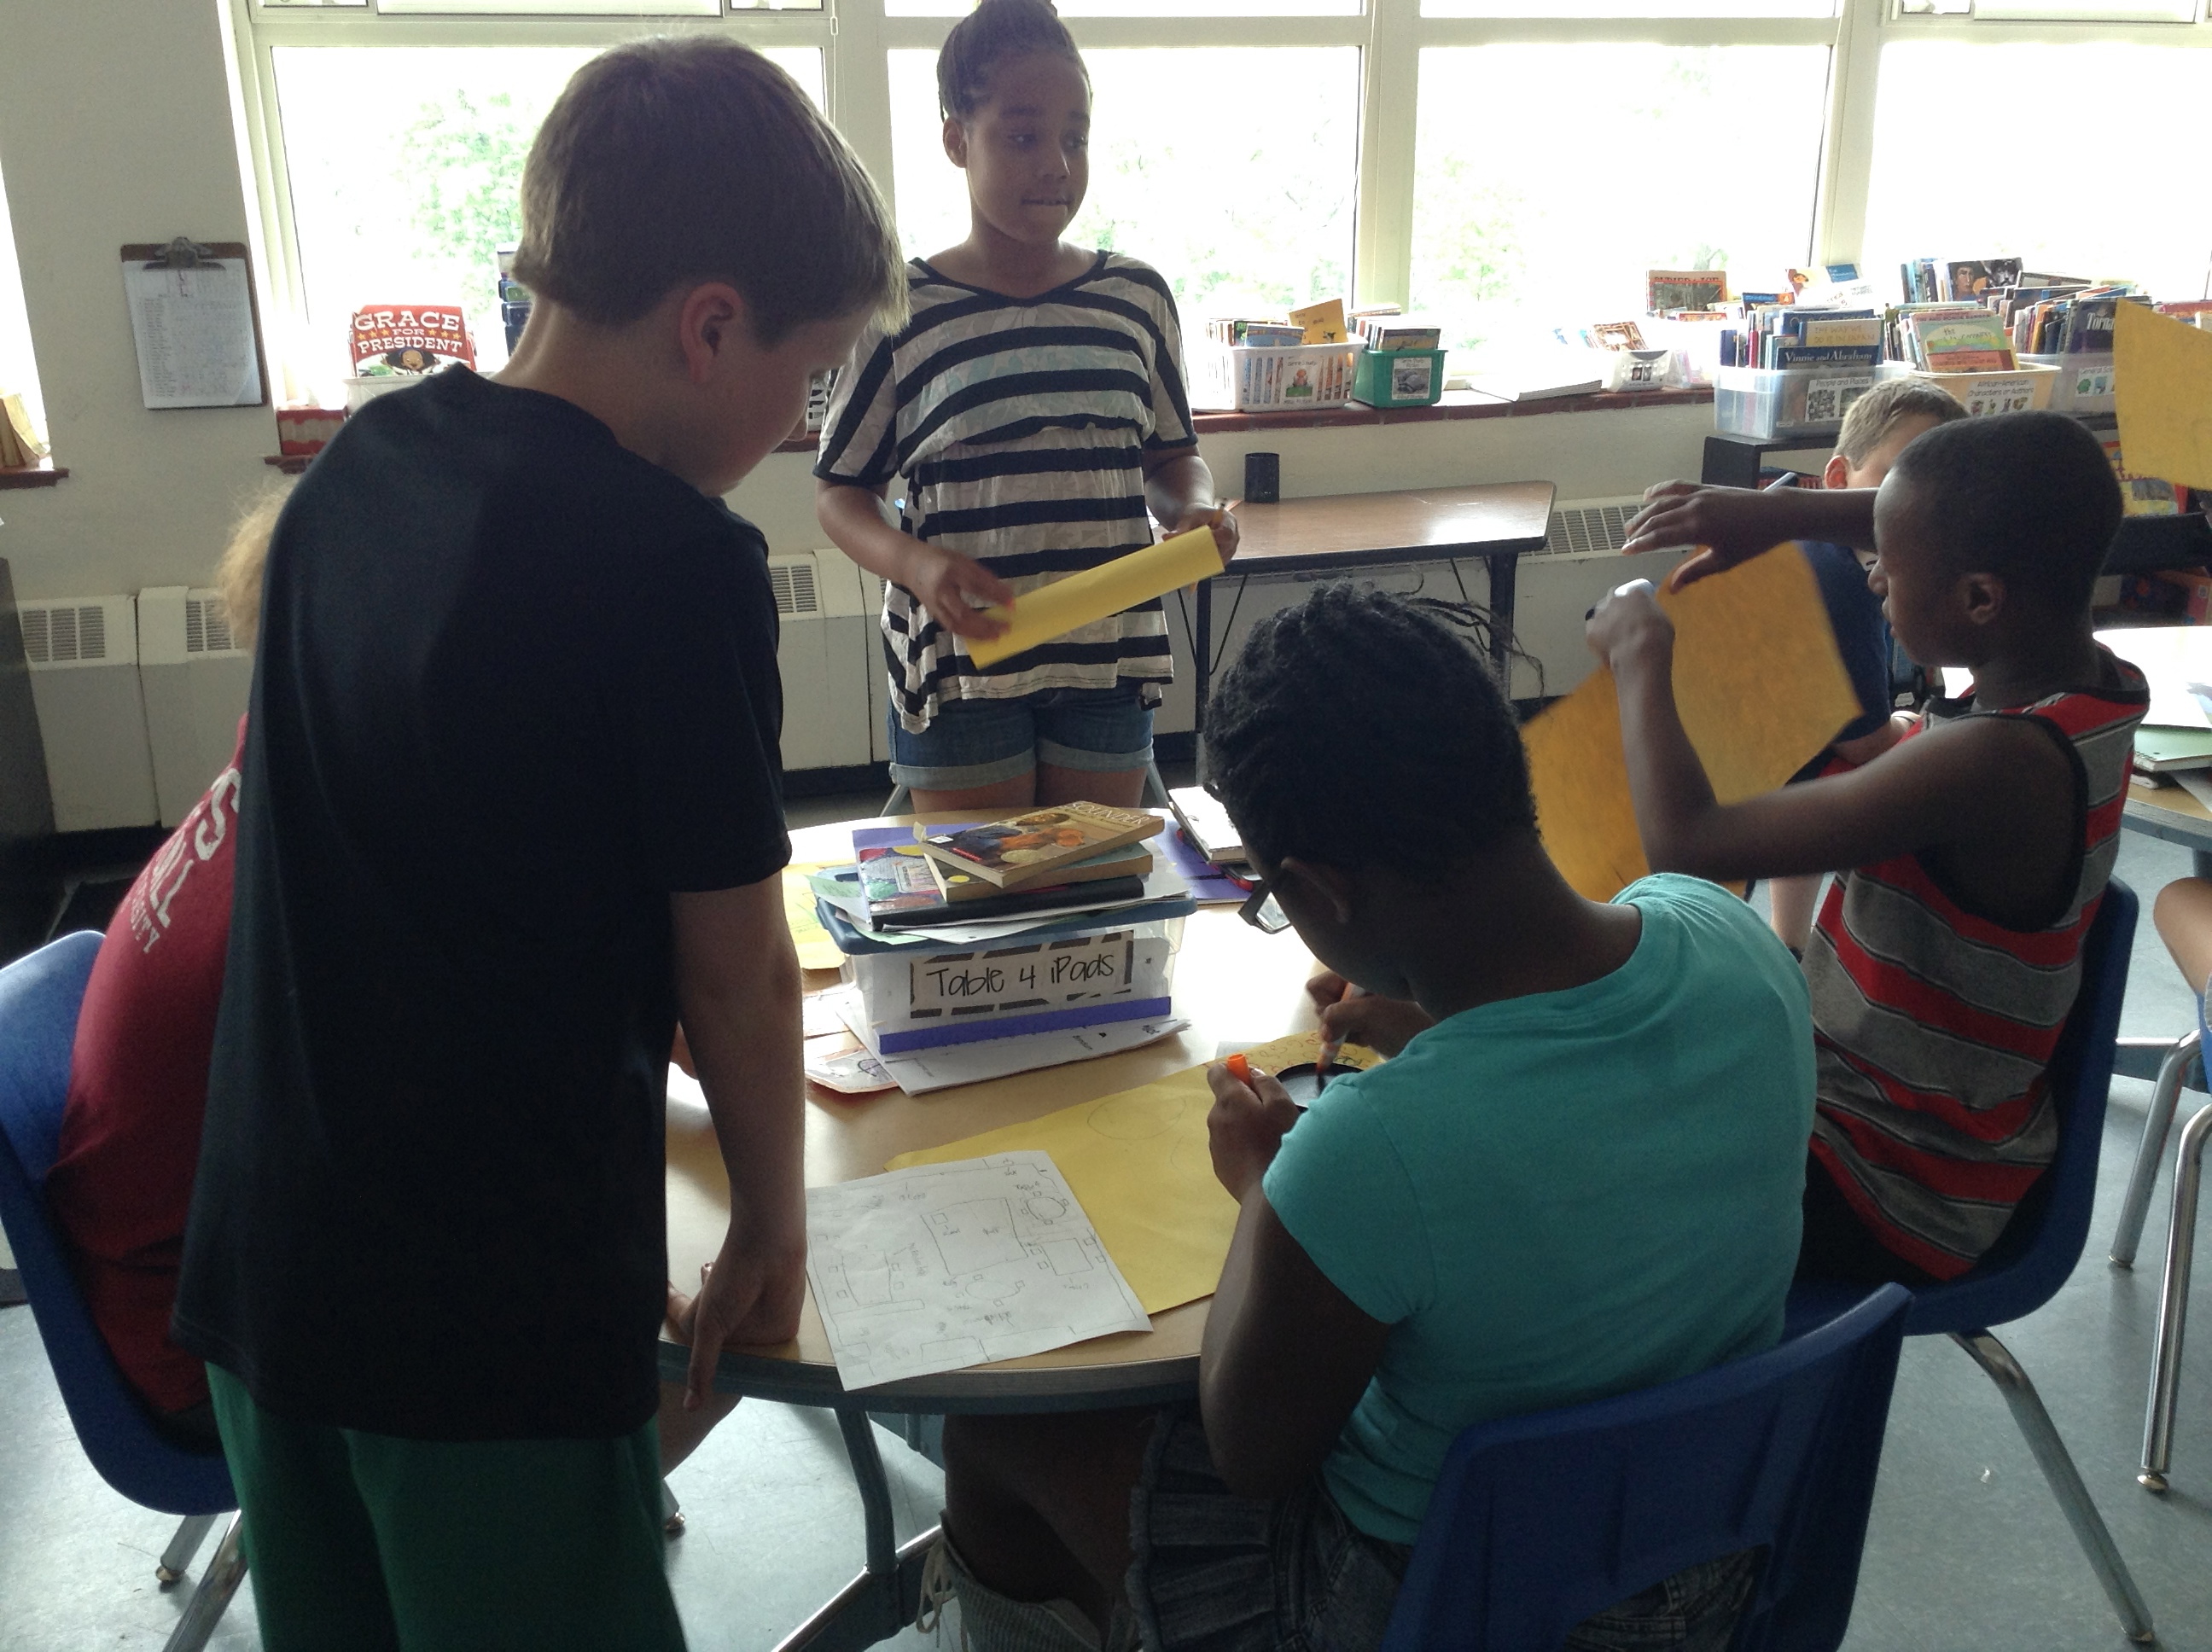
I realized today that while I’ve written about our Read Aloud timeline many times, I haven’t ever really explained how we do it.  I had someone ask me about it and thought I’d write it here, in case you wanted to try it for yourself!  I am sure there are many ways to make it happen, but this is what I’ve found works for us.  Please let me know if you try it and how it works for your readers! 1. Read Ok, I probably should have started after that, but it’s the first step, so there it is. 🙂  In both 5th grade and 1st grade, read aloud is one of the most important (and enjoyable) times of the day! It is a sacred event that happens every day, no matter what.  It is (as I mentioned here) not about laying down and relaxing after recess time (in fact, our RA isn’t even after recess!).  it is a time for a family of learners to enjoy text together–to laugh, to talk about language, to make predictions, to ask questions, to just share a positive literacy experience.  And especially for emerging readers, it’s a time to hear what good reading sounds like and to hear texts that they may not yet be ready to read for themselves. 2. Create timeline images I’ve done this step of the process in many ways, and is probably the step most open to interpretation and variation depending on your community.  In the beginning–for any grade level–I have them choose a part of the story that they like.  For most kids, this means something that was funny or surprising.  After we’ve gone through our first 2 or 3 books, then, the focus of the image might change a little bit.  I might have them choose the most important part.  If we’re studying inferring or predicting (or some other specific comprehension strategy), I’d have them choose an image that shows where they used that strategy to make sense.  For our purposes in 1st grade, we’re still just choosing whatever image we want; our next step is to choose an important part of the story. I usually have my students draw their images on a regular 8 1/2 X 11 piece of paper (because they fit nicely on the wall and are still a good size to see the picture from far away), with colored pencils or crayons.  Bright colors are preferred, just because the contrast is easier to see across the room, and all of the white space must be filled in (well except of course in the last few books we’ve read–they were graphic novels and kids could give me a good reason for why they left the white space there: “It was like that in the book, so my image looked like that, too!”).  On the back of the picture friends have to write what the image shows, as well as why they chose it.  The mechanics of the writing have to be correct, both because it’s good writing, but also because in the next step someone else will have to be able to understand what their image is all about.  This step usually takes place right after we finish a book, and at this point we can finish our images in about 30 minutes.  If we don’t, they usually finish them at choice time, take them home, or we have them out for morning work the next week so we can vote the next day.

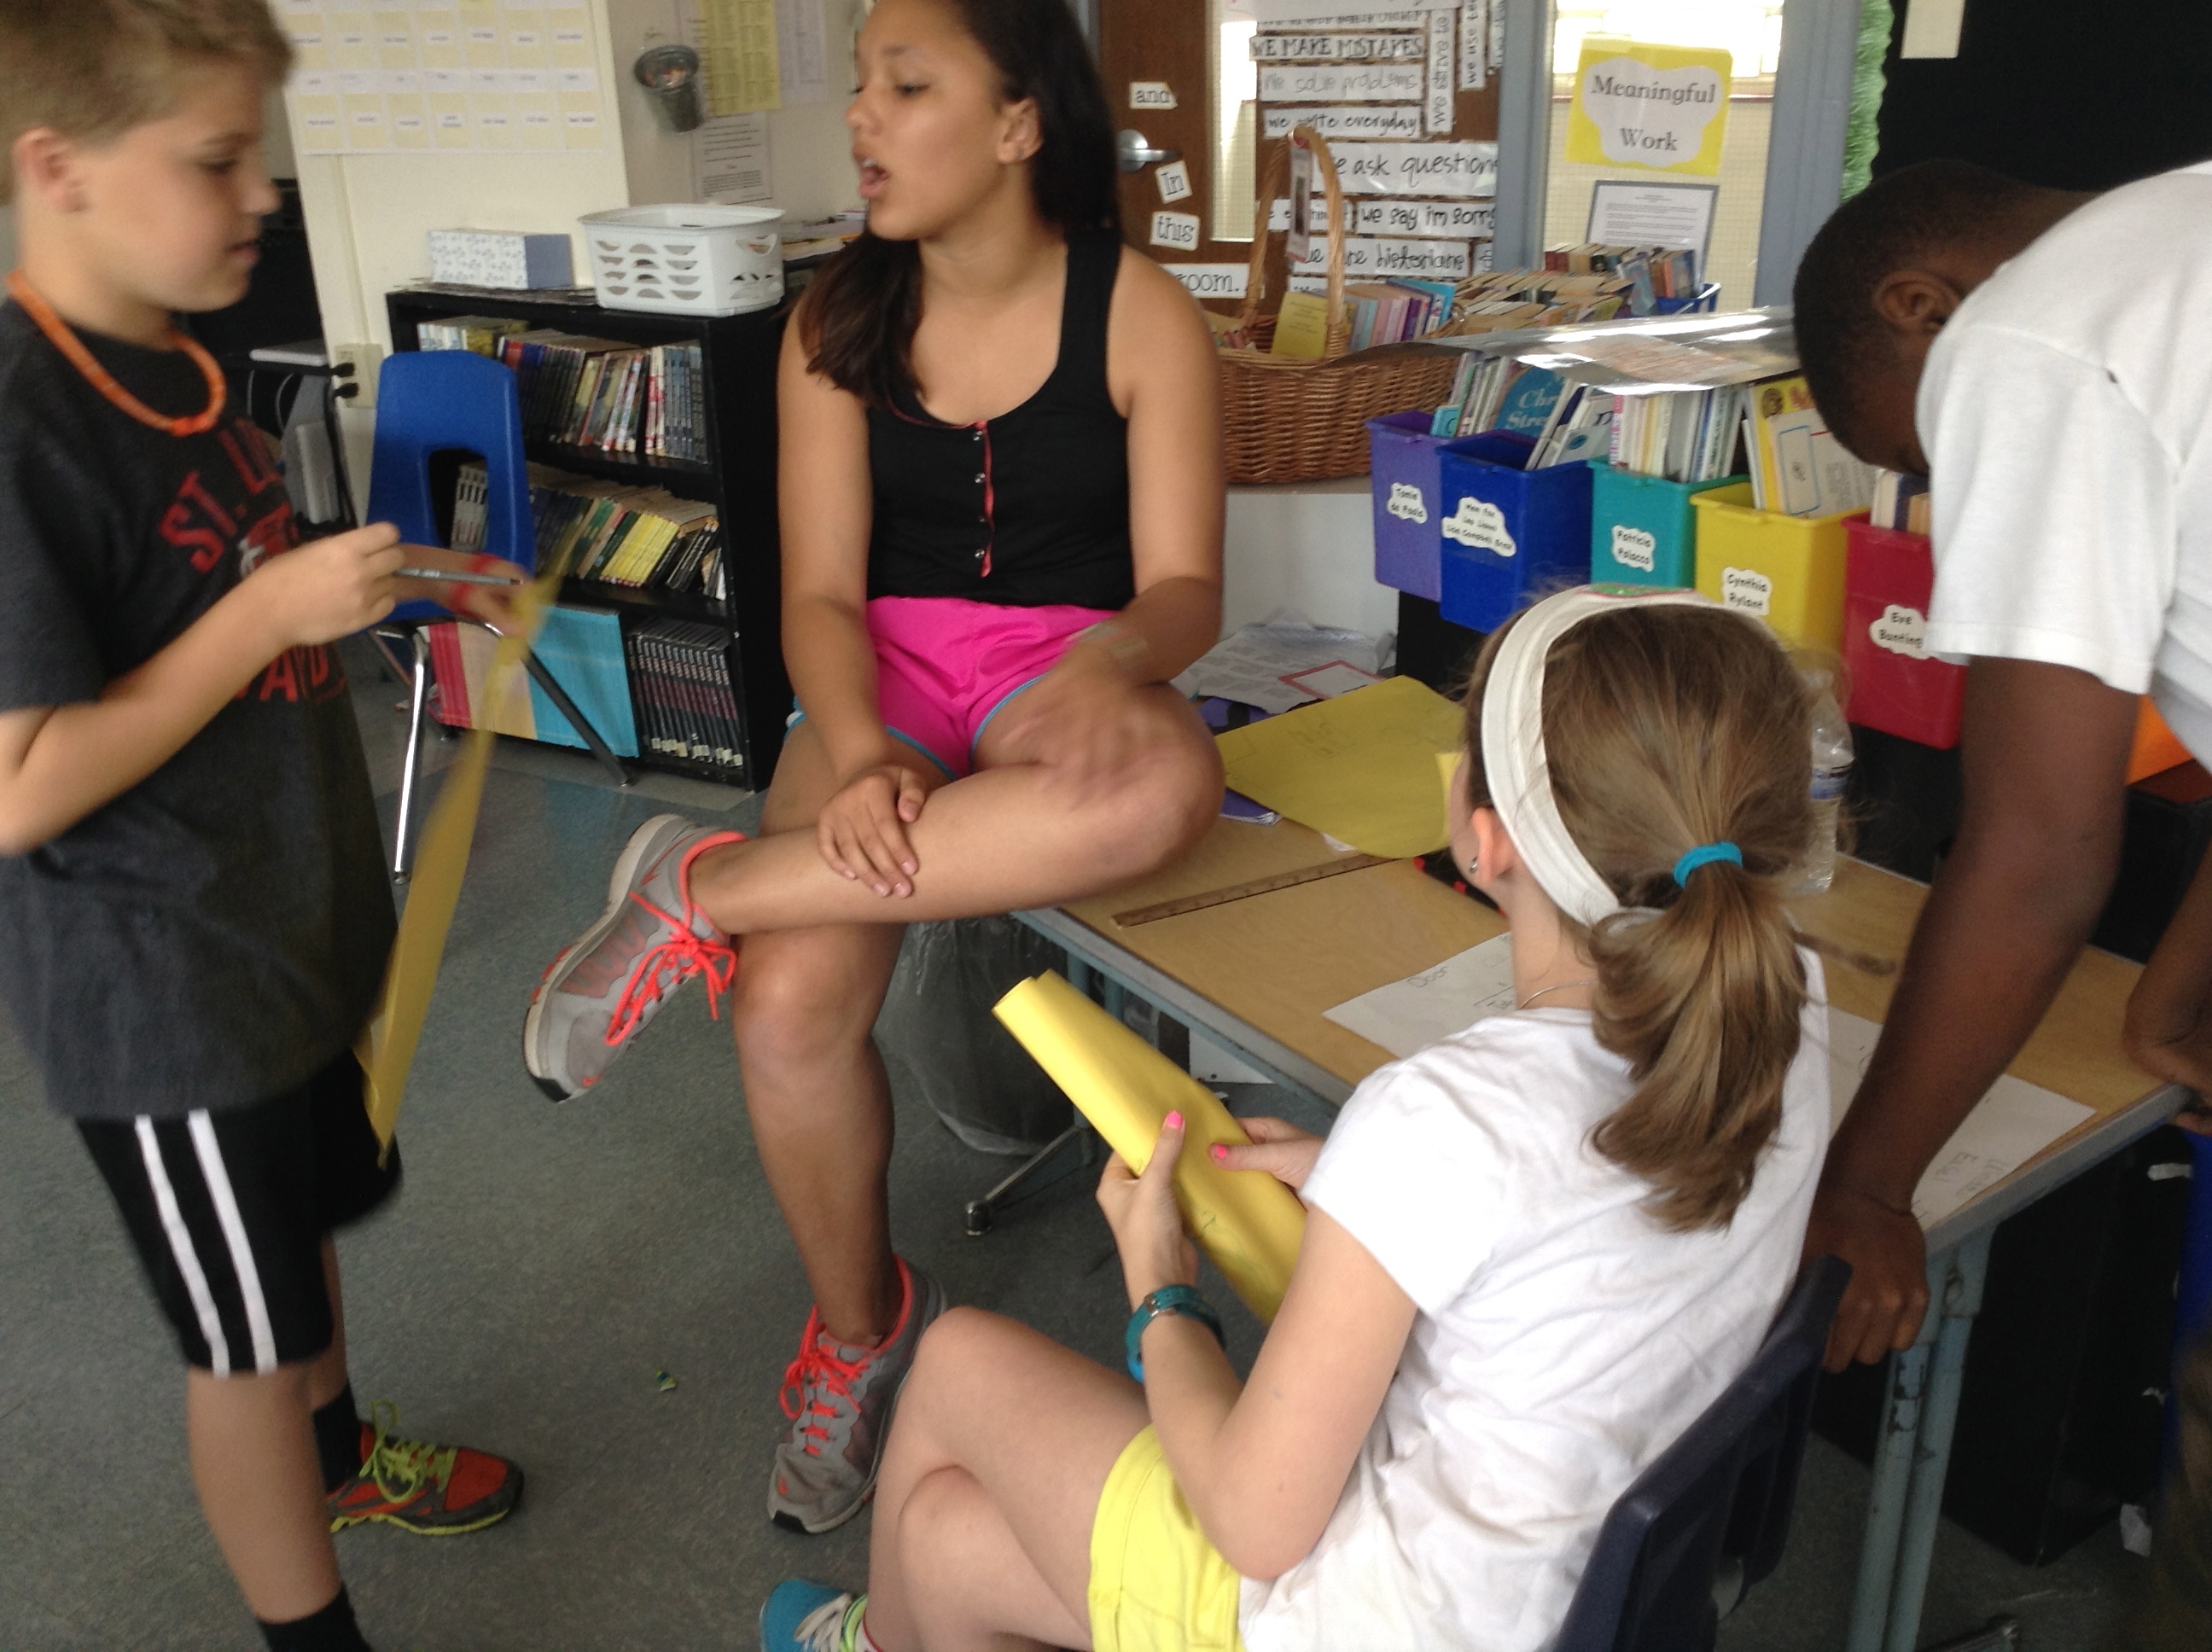
3. Vote In our class we have small groups of 4 that we use for the purpose of choosing read aloud images, as well as anything that I need to quickly break up the class to accomplish.  The groups stay the same all year, and get to know each other really well.  Depending on the year they have different names: when I taught 4th grade they were called “districts” to relate to our study of state government, the year we had a construction theme they were called “zones,” the year I had an animal print theme (I know–that sounds really lame now….) they were called “tribes” and this year they’re just generally called our Room Teams.  Some years the groups are numbered and some years the teams make names for themselves.  How you do this part really doesn’t matter, except that for me it’s the easiest way to narrow down our 20 pictures to a manageable 4. Depending on the grade, the groups might vote for both the image on the wall and the image on the front of our class book.  I found out VERY QUICKLY that with 1st graders it’s easier just to focus on the wall.  I also found out VERY QUICKLY that it’s much easier for them to choose their favorite image when they are not considering their own picture.  The first time we voted this year we got NOWHERE because everyone kept choosing their own picture.  Looking back now it makes perfect sense, considering where first graders are developmentally, but at the time it was just frustrating!  So as I shared my frustration with my team, my super smart friend Rochelle suggested I have them go through the process with random pictures.  It seemed like it was worth a try, and so the next time we did it I passed out the pictures so that they didn’t have their own picture in their hand or in their group at all.  They had to explain the part of the story on the sheet they were given and then choose the one that best represented the story from those choices.   I was AMAZED at how different and how EASY it was that way.  Thanks, Ro, for your great suggestion! Another thing i learned really quickly was that doing the whole raise-your-hand-for-the-one-you-want-to-vote-for process doesn’t work well with first graders either.  Even with only 4 choices (after we narrowed it down in our groups), it seemed like someone didn’t vote, someone else voted more than once, or they kept changing their minds based on what everyone else was voting for.  I couldn’t keep a clear count and had to figure out some other way. So, as both a more clear way to tell who’s voting for what, and as a way to make the process more interactive (which is good because they need to move!), we put pictures in 4 different places around the room and kids line up in front of the picture they are choosing.  It’s really fast and also allows us with great opportunities for counting, grouping and talking about efficient strategies for figuring out how many votes there are for each picture.  It’s a win-win!

4. Make a class book As I mentioned recently, the rest of the images go into a class book–1 for each book that we finish.  These live in our class library for kids to read and enjoy all year (well they do once the teacher takes time to bind them into books!).  So far we’re up to 14, and I figure we’ll have at least 20 at this rate (hopefully even more!!). 5. Repeat steps 1-4 This is the process we’ve gone through 14 times now.  It’s the process I’ve gone through with other classes close to 50 other times over the past 5 years as well.  And if you’ve seen the pictures I’ve posted, ALL of those images are hanging in my room right now!  There is something really special about being surrounded by all of those pictures, celebrating great books, great discussions and fun times with friends.  It’s fun to watch the timeline grow, and for classes to ask about old pictures.  I also love when past students come back to visit and we can connect again as we talk about those timeline images, too!

IMG350

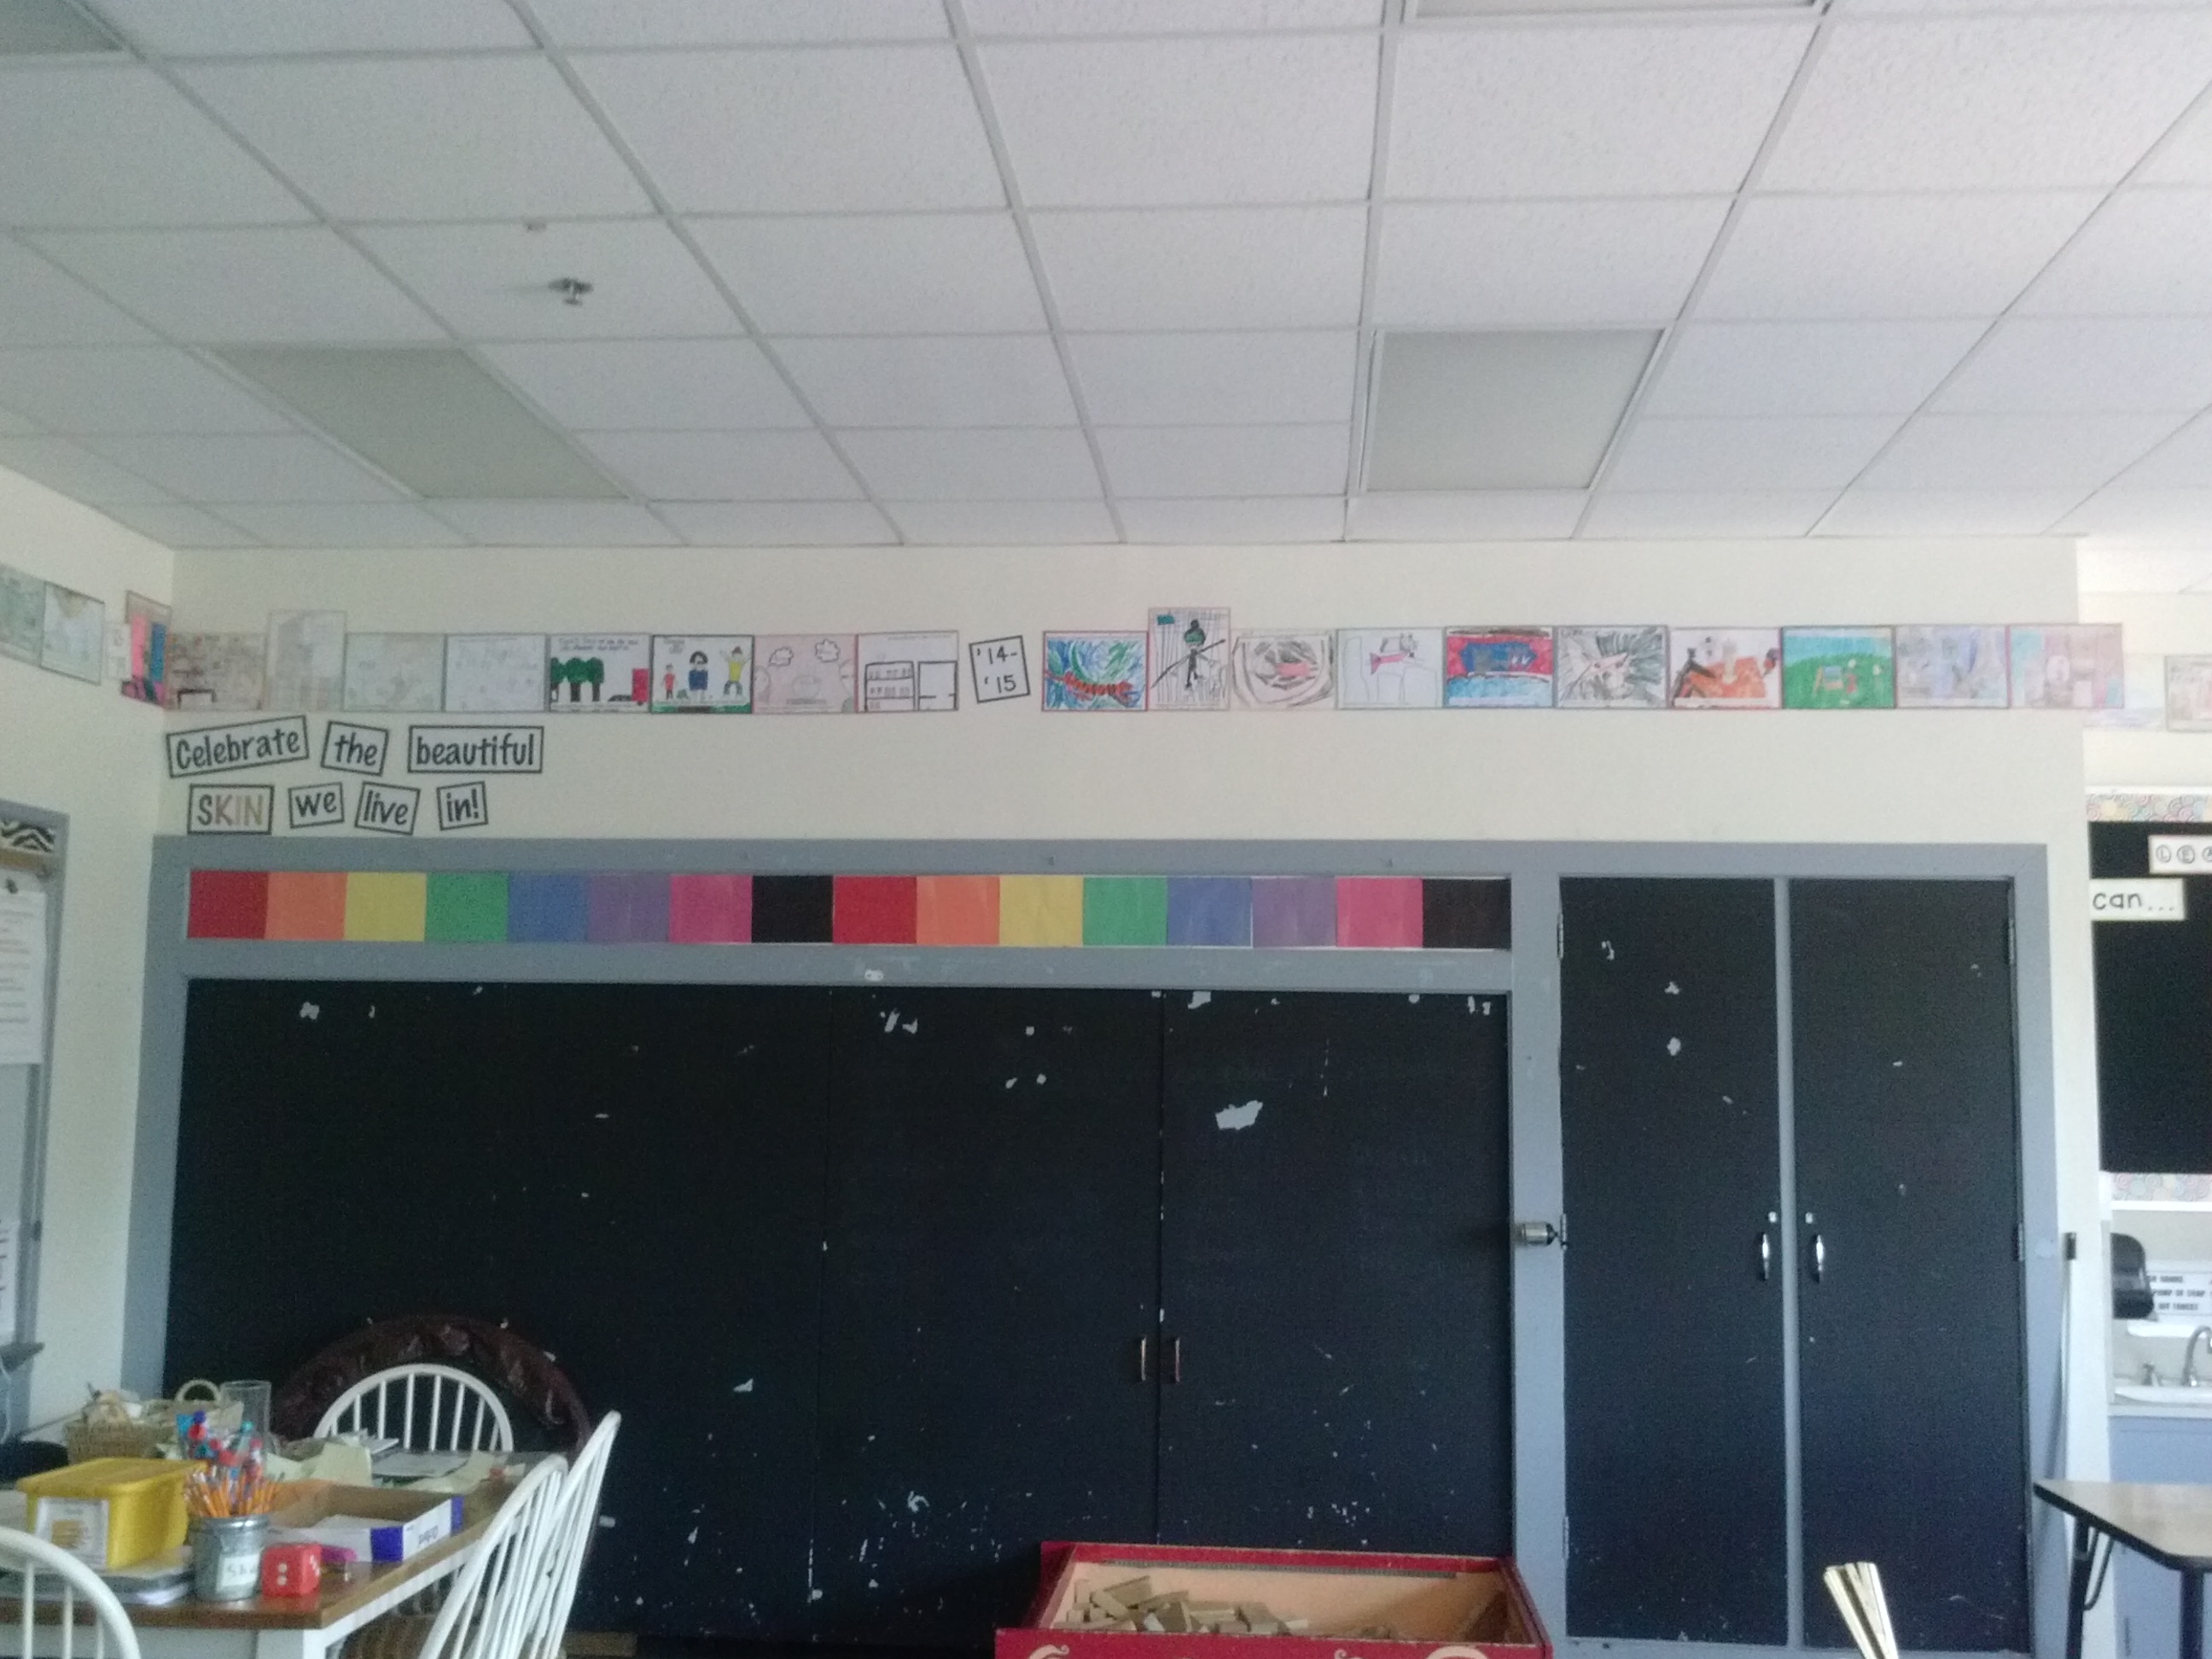
This is an idea of what the timeline looks like wrapped around the walls of Rm. 202. I actually had to take it down and move it further over to make more room at the beginning of this year. And I am not sure what I will do next year–I will have officially wrapped all the way around and run out of room! What a great problem to have! The timeline started in August 2009 and is still going in January of 2015. I am not sure I envisioned that when I started doing this back then!

This shows a more current version of this year's section.  I think there are still 3 or 4 missing from this picture.  We're reading so fast I can't keep up!

This shows a more current version of this year’s section. I think there are still 3 or 4 missing from this picture. We’re reading so fast I can’t keep up!

6. End-of-the-year Book After you are finished with your last read aloud (which for me runs right up to the last day of school–yep, sometimes we’re finishing our images, voting and laminating in the last hours of our time together!), something special happens.  All of the books that your class has been enjoying all year will become a special end-of-the-year memory for each kiddo.  The last thing I do is take all the books apart, and reorganize the pictures by kiddo (which is pretty easy because every image has both the child’s name and their class number on it so they can be easily put in orderly piles), and create a NEW book for each and every one.  I include a cover that lists all of the titles, authors and time frames for when we read each one.  Sometimes I include a note about how much I’ve enjoyed the reading journey, or maybe a quote from one of our favorites.  I haven’t ever had kids vote on their very favorite from the year, but if I did, this might be the cover of this individual book (who knows, maybe I’ll try it this year!). Whew!  Wow–that is really a more involved process than I thought when I sat down to write this.  But it’s TOTALLY worth every minute we spend on it!  I am not sure if I’ve mentioned it before, but this is not an original idea of mine (I saw the timeline created in a classroom in Columbia, MO when I was there for a training many years ago), but the process for how I do it has been tweaked to fit my purposes over the years.  It’s definitely one of those things that someone way smarter than me thought of, but that I have made my own through trials and errors to fit what works for me and my kiddos.  I’d love to hear what works for you and YOUR students! Happy reading!! 🙂

Flip That Room!

There seems to be a theme in my 5th grade class….(I’m not sure if I should take it personally, or just be really impressed that my kiddos are so creative….).

Today was a day full of lots of things: learning, noise, fun, business, reading, noise, creating, collaborating, noise.  But luckily most of it was not just what I call “noise noise.”  Much of the noise we made today was “learning noise.”  Noise that indicates lots of thinking and creating and sharing is happening.  And yes, it was loud.  But sometimes that’s just how we roll.  Especially when there are 25 of us in the room all talking at once!

So back to the theme I mentioned….we had to stop at one point today and regroup a little bit.  Writer’s Workshop was a wee bit rocky, and so rather than fight against the trouble we were having, we stopped, gathered together and agreed to try that lesson again another day.

Instead, I had them help me with a problem. I told them that I need their help to figure out how I could help them best be learners during our last few days of 5th grade.  We have work left to do, and we want to try to have a little bit of fun, too.  They had some great thinking, which culminated in the idea that parts of our classroom (or how they were using it) were not really working for us.  We agreed that we could work together to fix that problem and create a space that we could do some amazing end-of-the-year work in for a few more weeks.

We started with every kiddo creating their own dream plan of what our classroom would look like.  Then kiddos met in their tribes, presenting their plan to the 4-5 kiddos in their group.  From their, the tribes created a new plan incorporating the best features from each individual plan.  Then we shared out as a class, and voted on the one we thought would work best for us.

IMG_2571 IMG_2572 IMG_2573 IMG_2574 IMG_2575

Here’s what is sounded like during that time.  Remember, it’s loud, but it’s not. just. noise.  They are busy solving problems!

Can’t wait to share the final product next week!  Seems like another theme this week is that I forget to take “after” pictures!  Stay tuned!